
Have you ever heard of the tiger yoga pose? It is a super pose that works on a wide range of muscles and provides many benefits. So, here we are to discuss all about the tiger yoga pose in detail.
Tiger Yoga Pose and its Benefits
The Tiger pose is an exquisite exercise for lengthening the spine. In Sanskrit, it is called the Vyaghrasana. Vyaghra means tiger, and asana means pose. The classic posture resembles a tiger when it awakens from a nap or feels fatigued. It stretches from its front legs to its hind legs to relax and refresh its entire body. In a similar style, this pose works on stretching and relaxing the spine and opens the hip joints.
The tiger yoga pose falls in the beginner backbend group of poses that works on stability and balance and requires you to keep your body in a tabletop position symmetrically. It’s similar to the cat-cow stretch where the spine flexes in the concave and convex styles, but here you’re just using one leg and one hand (in its variation).
Some of the benefits of the tiger yoga pose are listed here:
- Soothes spinal nerves
- Loosens tensed muscles
- Stimulates blood circulation
- Relaxes the sciatica nerve
- Reduces excess fat in hips and thighs
- Improves digestion
- Regulates female reproductive functioning
- Improves balance
- Tones spinal cord and back muscles
- Strengthens the spinal cord
- Loosens hip joints
- Induces a healthy metabolism
- Stretches abdominal muscles
- Improves spinal flexibility
- Activates sacral chakra
- Relaxes the mind
- Improves coordination
- Stimulates lymphatic system
How to do Tiger Yoga Pose?
It is essential to understand the correct posture to refrain from injuries during the practice of a posture and to get the most out of it. The steps to successfully practicing Vyaghrasana or the tiger yoga pose are as follows:
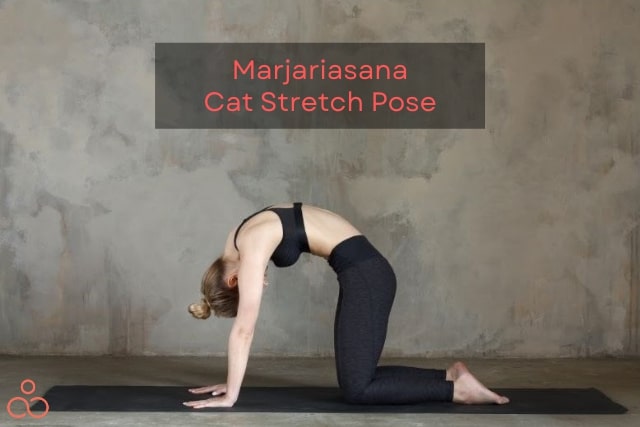
- First, get into Marjariasana’s first position (Cat Stretch Pose).
- Consider starting with the right leg. Extend the right foot slowly, straighten the leg, and stretch it upwards softly.
- Raise your head and arch your back in the upward direction.
- Without straining, bring the foot towards the back of the head. For a few seconds, hold yourself in the same posture.
- Straighten and extend the leg now, slowly bringing it down under the hips. If feasible, pull the knee nearer to the nose or forehead while arching your back and bending your neck downwards.
- Allow your thigh to push on your chest. Do not allow your right foot to touch the ground throughout the practice.
- Stay in the same position for a few seconds.
- 5–10 times is plenty. Calm the body in the tabletop posture after training with one leg.
- Following the same method with the left leg, relax the entire body by taking deep breaths.
Make sure your thigh hits your chest, and your foot does not touch the ground as you arch back upward.
Some practitioners may find it challenging to perform the asana in one sitting at first due to a rigid body; in this case, you should be aware of one’s body limits and avoid overstretching.
Precautions to follow
Despite the immense benefits that you can enjoy by practicing this tiger yoga pose regularly, it is essential to exercise caution and be careful before starting with any new posture. Any seasoned yoga practitioner believes that listening to the body is necessary for unknown waters. So here are a few precautions to follow:
- If you have lower back pain or hip, neck, or knee injuries, you must refrain from practicing this pose.
- Pregnant women and hernia patients should avoid this pose.
- If you have cervical issues, please do not experiment. Consult your doctor and practice under the guidance of a teacher
- If you have any heart-related medical issues, do not overdo any poses. Consult the experts in the field.
Modifications to Tiger Yoga Pose
No position becomes tough when done with some help and a few tweaks. If you are a newbie yoga practitioner or someone recovering from medical issues, you might want to practice the pose with certain modifications. Check out some of our suggested changes here:
Placing blankets beneath the knees for added support is a fantastic technique to start learning this position to reduce pressure on the knees.
Another option is to lay blankets or an additional yoga mat beneath the hands to improve grip and relieve pressure on the shoulders. If you want to put less pressure on your wrists try using your fists. It will challenge your balancing skills and train your core. One also gets confidence in their ability to balance the body comfortably.
Using a wall to support the bent leg for additional support while still feeling the stretch might be an alternative to doing this position. Bringing yourself near the barrier with your back to it, elevate the leg that is raised and lay the knee on the barrier or the feet on the wall. However, do not overstretch yourself, as you might hurt yourself.
If you’re unsure of your equilibrium, don’t raise your neck. Continue to look forward until you can confidently balance your body. For some people, looking up might make them feel uneasy and excited. If you have this difficulty, you can avoid looking up.
Variations to Tiger Yoga Pose
Try these variations to intensify the impact of the classic tiger stance.
- Uthana Vyaghrasana or Raised Tiger Pose
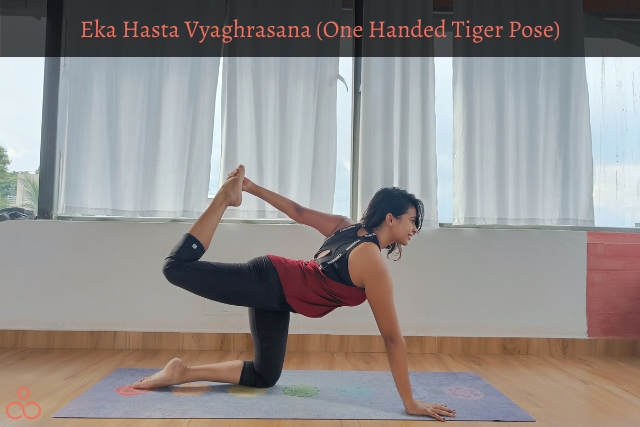
- Eka Hasta Vyaghrasana (One Handed Tiger Pose)
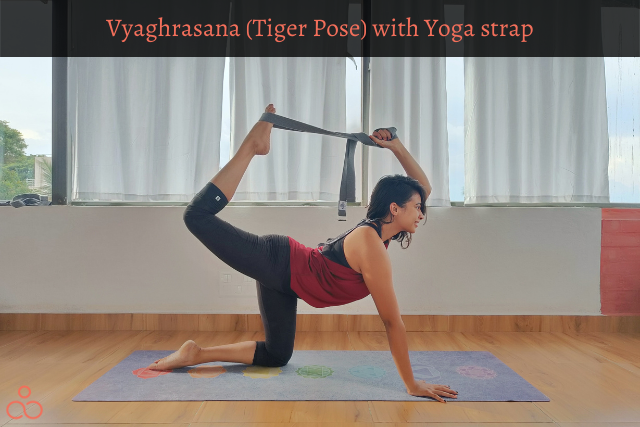
- Vyaghrasana (Tiger Pose) with Yoga strap
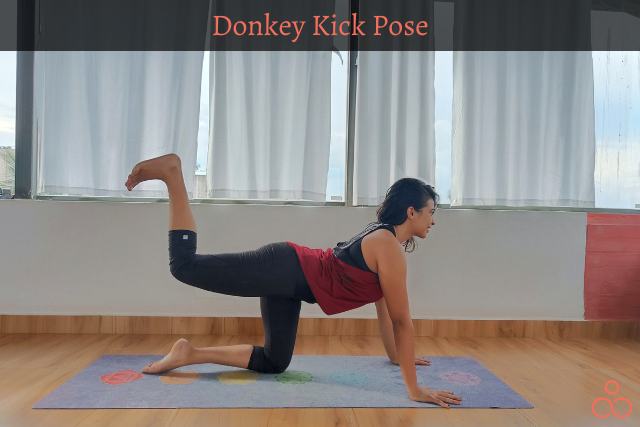
- Donkey Kick
Preparatory Poses
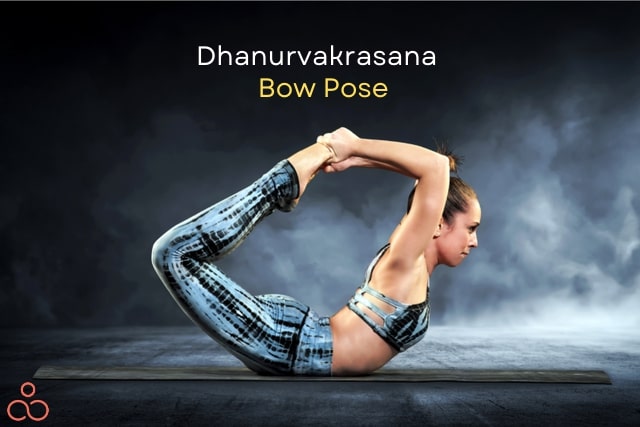
- Bow Pose (Dhanurasana): A bow pose is a back-bending asana that strengthens and stretches the spine while working on the core muscles. It opens the shoulders, and it is an excellent posture to practice before the tiger pose.
- Cat Pose (Marjariasana): Cat pose is a simple forward-kneeling warm-up pose that prepares the body for more advanced and strenuous Yoga practice. A gradual stretch from the neck to the lower spine begins in the cat position and causes our core muscles to work together.
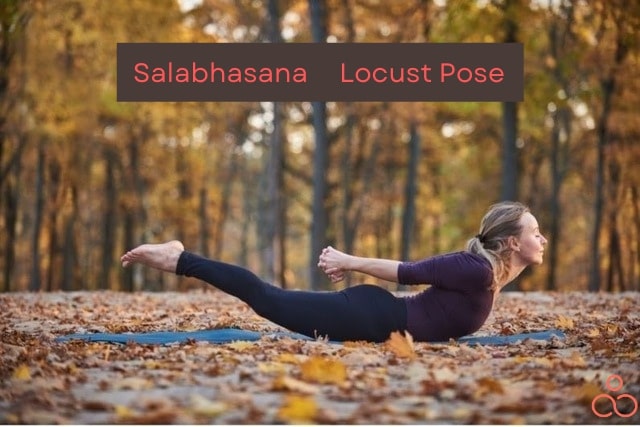
- Locust Pose (Salabhasana): Locust pose is a back-bending pose that works on the lower back and hip flexors. It will help take the vyaghrasana to a deeper level.
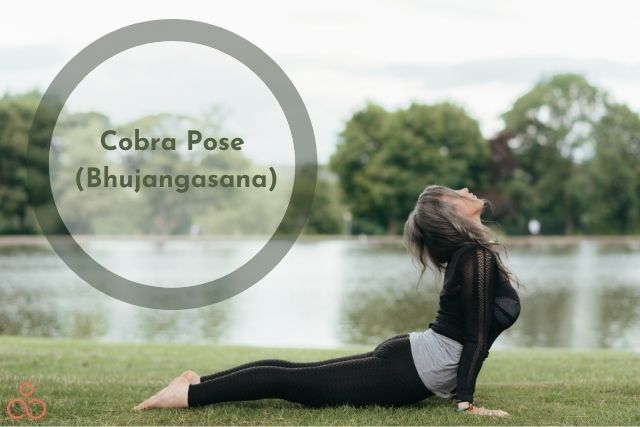
- Cobra Pose (Bhujangasana): Cobra pose primarily focuses on the upper back, shoulders, arms, and neck. It helps open the chest and will be a great opening pose. Click here to read a medically reviewed version of it!
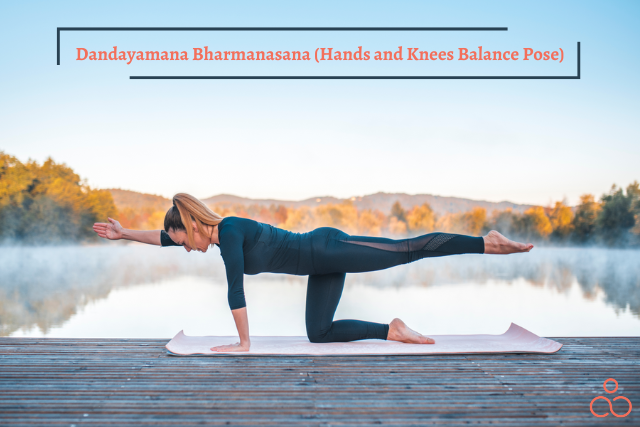
- Hands and Knees Balance Pose (Dandayamana Bharmanasana): The table pose is a restorative posture and a beginner’s yoga stance. It can assist the practitioner in inhaling more deeply by relaxing the spine and opening the chest. The learner kneels on all fours in this asana.
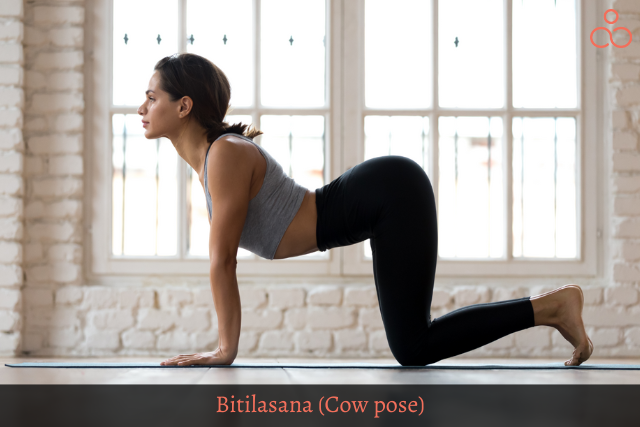
- Cow Pose (Bitilasana): Cow Stance is considered a basic pose since it may be used to create more cow poses. Cow Stance is a warm-up yoga pose that helps the body prepare for more strenuous yoga poses and yoga flows.
Follow-up Poses
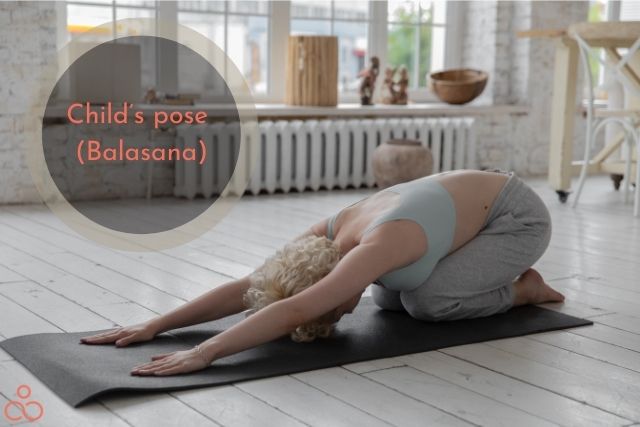
Child pose (Balasana): Child’s pose is a relaxing posture in which the yogi sits back on their heels, knees hip-width apart, resting the forehead on the mat to relax the entire body.
Wind release pose (Pawanmuktasana): Begin by Lying down in supine position. Bend your knees to bring your knees closer to your chest, hugging them tightly. You may gently roll your body side to side or front and back to further relax and give a gentle massage to your spine after an intense backbending posture.
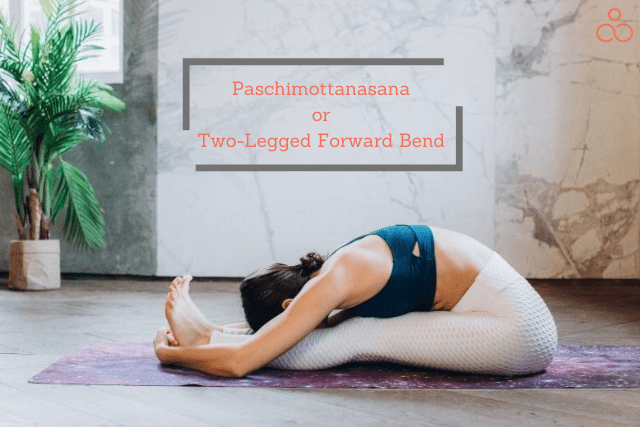
Two legged forward bend (Paschimottanasana): Begin seated with your legs stretched in front (Dandasana). Inhale to lift your hands up, exhale to bend forward. Bring the hands on your ankles or knees and let the spine relax completely in this pose.
FAQ
What is a tiger yoga pose?
Tiger posture is a beginner-level yoga asana that helps to expand the chest and hips. It is an essential pose in the Hatha Yoga practice and is believed to be one of the 84 asanas taught by Lord Shiva himself. The digestive, neurological, and reproductive systems are all stimulated by this spine lengthening yoga position. Tiger position enhances your stability and is especially advantageous to ladies who practice it daily.
Is the tiger yoga pose used in sequences?
Yes, the tiger yoga pose is used in sequences targeting a specific muscle group. Depending on the practice, it can be used as a preparatory or follow-up pose. We can find this in prenatal yoga sequences, core yoga sequences, and hip opening sequences.
Who should do the tiger yoga pose?
Tiger posture is a terrific spine stretching exercise that allows the hips and thighs to extend to their fullest potential. As a result, it’s best for those who work at a desk and are in pain due to lower back discomfort.
Who should avoid the tiger yoga pose?
Tiger yoga pose should be avoided by anyone with persistent neck and spinal issues, wrist difficulties, slipped discs, or sciatica.
Which body parts benefit from the tiger yoga pose?
The tiger yoga pose covers a considerable list of muscle groups that include arms, shoulders, hips, spine, knees, core, abdomen, hamstrings, pelvic, biceps, triceps, quadriceps, and neck.
What are the alignment cues for the tiger yoga pose?
Focus on body alignment while performing yoga is crucial. Some basic alignment cues to remember are:
- Aligning your wrists and knees in line with your shoulders and hips
- Lengthening your neck
- Breathing patterns – Inhale while you arch and exhale while you round your spine.
Why do yoga poses have different titles?
Many yoga postures have many names due to variances in Sanskrit to English title translations or because a particular title has become popular due to widespread use among yoga instructors and practitioners.
Conclusion
Have fun and go wild with this tiger yoga pose. Don’t forget to roar like a tigress or tiger.
