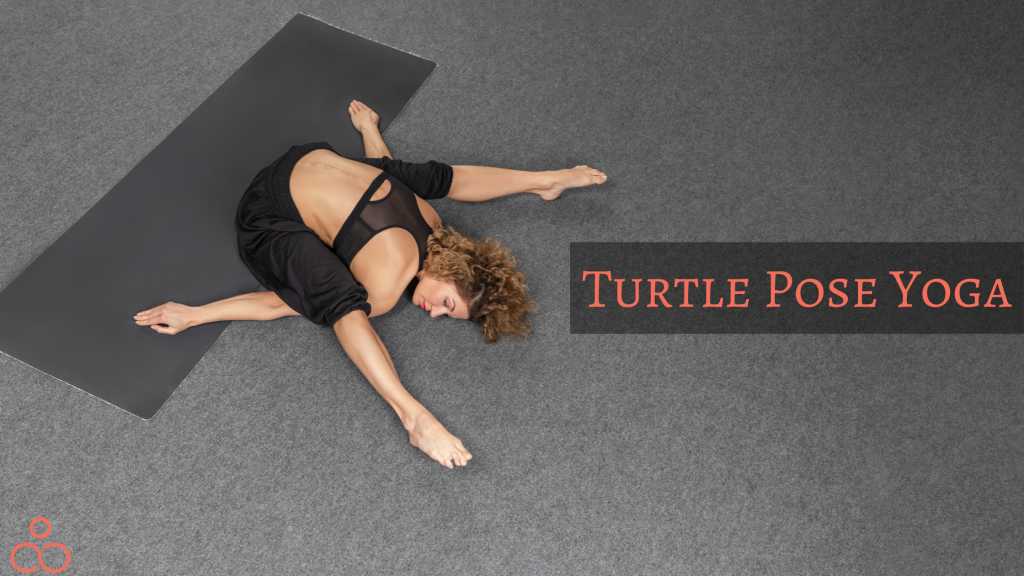
Have you ever heard of Turtle Pose Yoga? It might sound like a simple animal-inspired pose that can be casually done just for fun. However, according to yogic experts, the turtle pose is an intermediate or advanced level pose that is quite intense and has a good share of health benefits that every yoga enthusiast could enjoy. While beginners can also challenge their capabilities, it is recommended to do so under the supervision of a yoga trainer. So, let’s dive in and understand the pose in detail.
What Is The Meaning Of Turtle Pose?
Deep seated forward bending is called kuramasana. Along with calming bodily relaxation, it sends a practitioner on an interior exploratory quest. It is an intermediate bend yoga asana that has been used for centuries because of all of its advantages. Kurmasana continues to be popular in the contemporary yogic lifestyle as a result.
Kurma and Asana, which in Sanskrit indicate tortoise and stance respectively, are combined to form Kurmasana. In this position, the practitioner bends their back forward while extending their hands and legs backwards. This entire body, with its curled back and extended hands and legs, resembles a tortoise. As a result, it is also known as the turtle or tortoise pose in yoga.
What Do You Need To Do Before Turtle Pose Yoga?
Before practicing Kurmasana or any advanced yoga postures make sure you are in an empty stomach and body is warmed up nicely so the posture doesn’t bring any discomfort or injuries during or after your practice.
This is one of the asanas from Ashtanga Primary Series. Having said that, if you practice the series completely and follow the asanas as it’s practiced in the series (One by one) your body will be warmed up completely for this advance asana too.
If you are just starting with your yoga journey. It is advised to practice this Asana under the guidance of an experienced yoga trainer.
How to do Turtle Pose Yoga?
Step 1: As you begin, get into Dandasana with your back straight and your legs out in front of you. Make sure the lower limbs form a 90-degree angle while you maintain your space between the legs.
Step 2: Once you are in the posture, elevate your chest, rest your thighs on the floor, place your arms sideways, and take a few deep breaths.
Step 3: Next, stretch your legs apart and bend your knees. Make sure the soles of your feet are planted on the ground once your legs can form an acute angle with your thighs.
Step 4: Raise your arms out to the sides, placing them just below your calf muscles. The left arm should be placed under the left flexed knee, whereas the right arm would go under the right flexed knee.
Step 5: Bring the thighs inside and concentrate more on the median or midline plane of the body just after bending the knees. Taking this step would allow you to enter the area right below the lower limbs.
Step 6: Once the shoulders are below your knees, you should push the shoulders and lower the angle between your thighs and your legs.
Step 7: Lastly, aim to contact the floor with your forehead by bringing your face and chest forward.
Step 8: Next, straighten your legs and feel the pressure when your inner thighs make contact with your side ribs.
Step 9: Now, make sure that your chin touches the ground and that your gaze is directed downward.
Step 10: Try extending your arms as far to the side as you can and place them just beneath the lower limbs. Finally, take some time to unwind and breathe deeply.
How To Release Yourself From The Turtle Pose Yoga?
You must breathe in, release the arms, and then bring them in after holding the position for a few seconds. Lift the upper limbs and bring them along the hips as you go. Once the limbs are straight, you must pull them together, return to the staff position, and then unwind for a time.
Variations of Turtle Pose Yoga
If doing kurmasana is difficult for you, you can try Ardha kurmasana, also known as the half tortoise posture. And once you have unlocked Kurmasana you should try Supta Kurmansana, also known as the sleeping turtle pose. A little more challenging posture for the body as well as for the mind.
Half Tortoise Pose (Ardha Kurmasana)
The Ardha-Kurmasana, also known as the Half-Tortoise Pose, is a soothing position that also gives your back an energizing stretch. This pose is one of the 26 asanas that make up the Bikram Yoga practice. To stretch the body and let the heart rate return to normal, the position is typically done at the end of a yoga session.
Steps:
- With your buttocks resting on your heels, assume the Vajrasana, also known as the Diamond Pose, on a yoga mat.
- Take a breath in and extend your arms in the air. Your two thumbs should be entwined when you bring your palms together. Your biceps should be touching your ears, and your arms need to be straight. Stretch yourself by extending your back.
- When your tiny fingers and forehead hit the yoga mat, softly exhale and rotate downward from your waist.
- Hold this position while breathing normally for at least 20 seconds.
- Take a deep breath in and return to the beginning posture with your hands up overhead.
- Return to the Vajrasana after exhaling and letting go of your arms.
Sleeping Turtle Pose (Supta Kurmansana)
When executed correctly, the difficult forward bend known as the sleeping turtle can offer several significant advantages. In fact, according to Yoga International, the tortoise posture helps increase energy and sleep while toning the spine and working the abdominal muscles.
Steps:
- Place your feet cross-legged on a yoga mat
- Pull your right foot into your chest by grabbing it with your left hand
- Place your right hand on the ground close to your right hip while tucking your right arm beneath your right leg
- Slowly “walk” your right leg up your right arm while maintaining control of your right foot with your left hand, until you can weave your head in front of your foot
- Lay your left hand down on the floor. Repeat steps 3-5 while holding your left foot in place with your right hand
- In between your legs, bring both shoulders. Reposition both hands so that they are shoulder-width apart on the floor
- With your arms extended, slowly drop your forehead to the ground while bending your elbows
- Clasp hands behind your lower back and wrap both arms over your leg
- Hold the posture while taking deep breaths
- Reverse the preceding instructions to get out of the posture
Benefits Of The Turtle Pose Yoga
To develop appropriate techniques, many advanced stretching postures demand enough flexibility. One may need to perform a lot of stretches and frequent exercise to master this position and get its advantages.
The benefits of turtle yoga pose are:
- Helps digestive and respiratory issues by stimulating the stomach’s internal organs
- Lengthens the back muscles and extends the spine
- Stretches the back, legs, hips, shoulders, and arms
- Relieves lumbar and sacroiliac region stiffness
- During asana, the shoulder, head, and neck are relaxed
- Treatment for obesity, diabetes, headaches, asthma, constipation, and insomnia
- Increases blood flow throughout the body and aids with memory improvement
- Increases concentration, cultivates composure, and willpower
- Improves mental calmness and balance
When Should You Practice?
Practice kurmasana once you have warmed up your entire body specially your hips and hamstrings. This can be practiced either in the morning or evening but best time is in the morning to give yourself a great head start for the day.
Tip – For Supta Kurmasana begin with practicing with one leg behind your head and then both legs together.
Before performing the posture, those with the following medical conditions should either avoid it or consult their medical practitioner
- Sciatica
- Recent surgery
- Herniated discs
- Chronic back pain
- Injuries in the shoulder, arm, or hips
- Arthritis
Additionally, pregnant women should avoid this posture since their stomachs may be pressed toward the floor. Keep in mind that you should only hold this position if you are comfortable; release it if your legs, knees, or back are in pain.
12 Quick Tips For Beginners
- Tip 1: Performing kurmasana may prove to be difficult. If it’s your first time attempting the posture, a qualified yoga instructor should be watching over you.
- Tip 2: Always position a cushion or a folded blan
ket right below your legs if it’s difficult to put your heels on your feet. - Tip 3: Don’t ever tense your muscles while assuming the stance. Always breathe in and out slowly, exactly as you would in everyday situations.
- Tip 4: Move your arms slightly away from your sides if you can’t find a cushion. Always be aware of when to quit when you begin to feel uncomfortable.
- Tip 5: If you have sciatica, a shoulder joint injury, chronic arthritis, an arm injury, tight lower back muscles, or any of these conditions, you should avoid performing the exercise.
- Tip 6: You should avoid the turtle stance if you are a woman who is pregnant.
- Tip 7: Take your time and attentively follow the instructions if you’re doing the asana in the cold. If you move too quickly, you won’t be able to relax your tense muscles.
- Tip 8: As you perform the workout, make sure you have enough room to move about. The phone should be turned off, and you shouldn’t let anyone bother you as you’ll be taking some time for yourself.
- Tip 9: Drinking water hydrates your body and is always advised before yoga. Additionally, try to refrain from drinking anything while practicing because the act of breathing could cause you to lose focus.
- Tip 10: You should wear light, loose clothing when doing the asana with bare feet. Always remember to take off your watch, eyeglasses, and any jewelry if at all feasible.
- Tip 11: To help you loosen up your muscles, always begin your workouts with some warm-up activities. If you don’t perform the necessary postures in advance, you risk being hurt afterwards.
- Tip 12: Always remember to do the opening positions and closing stances before moving on to the subsequent stages one by one.
What are the preparatory and follow-up poses for turtle pose yoga?
Preparatory Poses for Turtle Pose Yoga
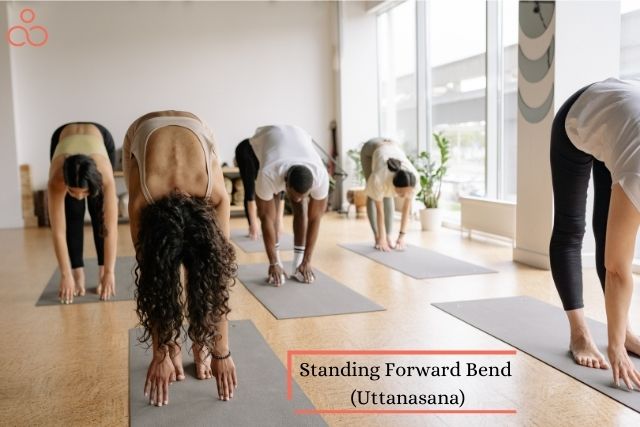
- Uttanasana or Standing Forward Bend
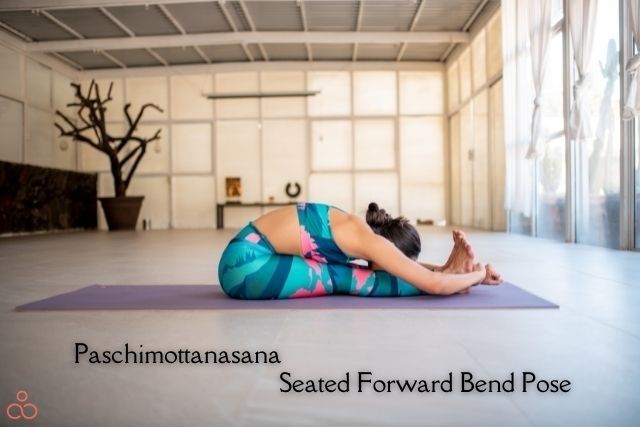
- Paschimottanasana or Seated Forward Bend
- Dhanurasana or Bow Pose

Follow-Up Poses for Turtle Pose Yoga:
- Chakrasana or Wheel Pose

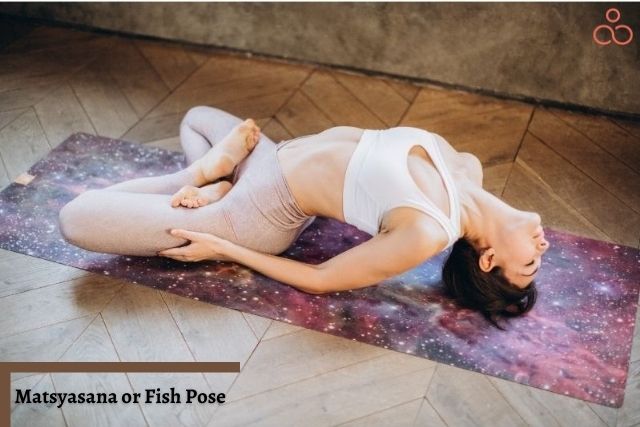
- Matsyasana or Fish Pose
Kid-Friendly Turtle Pose Variations
By practicing a variation resembling a bound angle, also referred to as the butterfly pose, we can progress to the full version of the turtle pose. As we stretch into the forward bend, bending the knees and bringing the soles of our feet together helps to expand the hips. To do this modified turtle stance, stretch your arms out to the sides and beneath your legs rather than clasping them around your feet as in the original bound angle. By performing various hip and leg stretches like seated forward fold, lizard, and warrior positions, we may get our bodies ready for the intense stretch of the complete turtle pose.
Being careful to avoid hurting our knees is crucial if we are loosening up tight hips. The happy baby pose, which essentially inverts our turtle pose, is a terrific hip-opening pose.
Tips For Breathing In The Turtle Pose!
Have you ever considered how frequently marine turtles breathe? They have lungs that are nearly the whole length of their bodies, and each time they breathe in, they greatly expand. Breathe gently and deeply like a turtle whether you’re doing turtle in the shell or turtle pose. See how vast and spacious you can be on each inhale and how calm and quiet you can be on each exhale when you imagine breathing with your full body.
Who Can Do Turtle Pose Yoga?
Many people, including the following, can strike the kurmasana:
- Youth
- Seniors
- Beginners
- Those seeking to enhance their digestion
- Those with respiratory problems
- Those who desire to slim down
- Those who have back difficulties
- Those who are regularly stressed
What Are The Common Mistakes To Avoid?
Safely release the position: Be deliberate and move slowly out of the tortoise pose. Bend your knees as you lift them to a height that enables you to retract your arms to securely leave the posture. Lift your torso and settle back into a sitting posture once your arms are free.
Put your knees safely down: Sometimes during a yoga pose, you must pull your torso into the mat. Keep your knees from locking and pressing into the mat. When performing this posture, many people suffer discomfort in the back of their knees, making it challenging for them to maintain their straight legs. Slowly straighten your legs as you assume the stance to avoid this.
Getting ready for the pose: Try this position if you’re an experienced or intermediate practitioner. Additionally, you want to warm up for it with a series of positions that stretch your back and legs. In the middle of your sequence, strike this position.
FAQs
What is Turtle Pose Yoga?
Kurmasana, also known as the tortoise position, is mostly practiced in Hatha and Ashtanga yoga. It is an intermediate to advanced pose. It extends the legs a lot, particularly the thighs and hamstrings. It is advised to have prior flexibility because of the nature of the deep stretches required in tortoise pose.
What advantages can the turtle pose offer?
Breathing is vital in all yoga poses, but in turtle pose, the forward fold may put pressure on the chest and abdomen. As a result, it’s necessary to be mindful of your breath as well as how your body is moving to prevent any injuries.
Is the turtle pose yoga a more advanced pose?
This position is advanced, thus it should be performed carefully and under instruction. Turtle pose may be used in flow yoga sequences because it helps the body generate more energy.
Conclusion
Now that you are aware of turtle pose yoga, experience the benefits it has to offer. Ensure you aren’t pushing yourself too hard or experiencing pain while practicing the pose. Consult your medical practitioner if you have any medical issues and slowly progress into the pose at your own comfort. Grab your mat, flex those muscles, and fill your lungs!
