Neck and shoulder pain is a common complaint. Our day-to-day lifestyle is the prime source of constant discomfort that often leads to muscle strains in the back of our head, neck and shoulders—the trapezius muscle, commonly known as traps. It is made of three parts, almost like a gearwheel that is responsible for hauling our shoulders and bringing them back during scapular retraction. The main triggering factor of muscle strains is caused by hours of bad posture—one of the drawbacks of modern technology. People who spend a lot of time sitting in front of a computer for their day jobs or have a tendency of using their phone in a hunched-down position end up suffering the most. Even minor habits like reading in bed or gritting your teeth can often lead to strained neck and shoulder muscles.
Enough with the problems already! Let’s talk about solutions that you can explore to get rid of your neck and shoulder spasms. So how can we improve our movement patterns to prevent bad postures? Easy—healing yoga, which is also known as restorative yoga for neck and shoulder pain. The key is to maintain ways to adjust our alignment that help us to release the tension that contributes to a long-term muscle spasm of the neck, shoulders and upper back.
Healing Yoga for Neck and Shoulder Pain
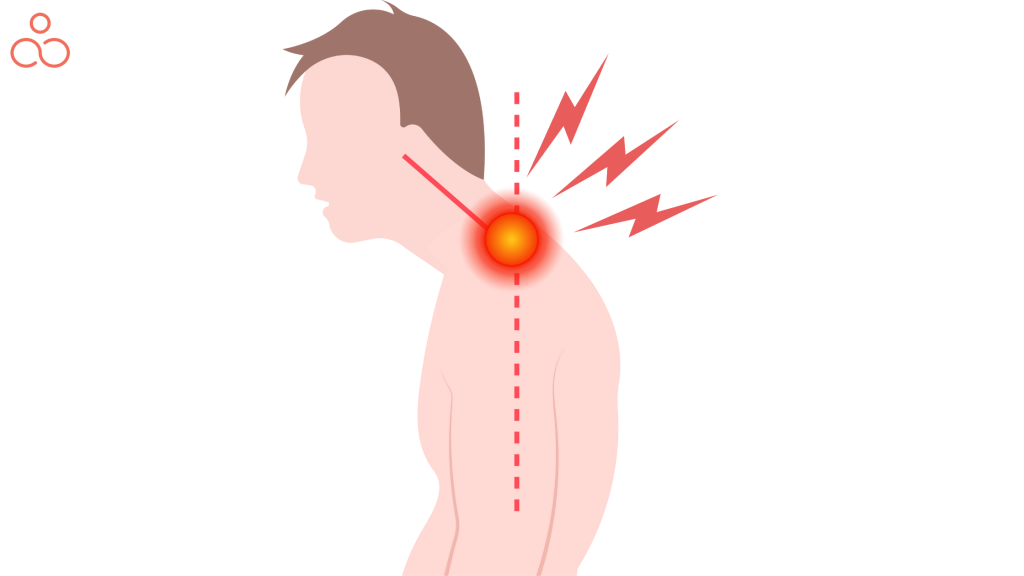
To identify if you have forward head posture, try the following: stand with your back and heels against a wall. Your objective is to check whether the back of your head touches the wall naturally – if not, this is a sign for misalignment. Having said that, recently a WHO report stated that people suffering from neck pain – the best way to treat it is by self-care. That is where yoga plays a vital role in treating neck and shoulder pain. Yoga demands you to focus on your body movements, balances, breathing, body mechanics and emotions.
Healing yoga is the practice of breathing techniques and meditation to build physical and mental strength. It incorporates processes that improve flexibility, activate stiff muscles, and gradually eliminate discomfort, both mentally and physically. Here are a few basics of restorative yoga for shoulder pain that can be followed to start your healing journey.
- Synchronize your breathing with your movements. The trick is to observe. Try to breathe consciously so that you feel the movement in your spine. This supports neuromuscular re-education that allows you to alter your bad movement patterns. Coordinate your breath to the movement. The breath should be a medium to help you create and feel the movement in your spine. This aids neuromuscular re-education, which enables you to transform dysfunctional movement patterns.
- Another really important factor is to ace your poses. It could be just as simple as following one single pose to help with your discomfort. Make sure to correct your posture. You have to enable yourself to understand what’s going on inside your body, particularly how it impacts your muscles. Focus on the quality of the poses, rather than the quantity because the poses will only give you results if you are doing them properly.
Now it’s time for us to address the root cause of the pain you’re feeling. It will help you determine what needs to be done for pain relief.
What’s Causing the Pain?
The typical symptoms include mild tingling, shooting pain, stiffness, numbness, spasms, and soreness. Usually, continuous pain in the neck and shoulder can range from a number of factors, such as:
Bad Posture
The most common one is poor posture. Maintaining proper posture is important if you are suffering from upper back pain. Any negligence can directly affect your traps, leading to serious discomfort from your neck and shoulders going down to your spine. The severity of the pain can increase over time if you are not actively taking precautions.
Forward head posture is also referred to as a misalignment around the back of your head, neck and shoulders. It can have a number of unfortunate effects throughout the body. The shortening of chest muscles keeps pressing on nerves and blood vessels in the arms, which can increase the risk of repetitive stress injuries, such as carpal tunnel syndrome. The elevation and forward movement of the scapula, along with your lower traepzium and supraspinatus weakening – it can compress the shoulder joint which can cause pain, inflammation in the rotator cuff.
Not just, it can also compromise your lower back due to the curve in your spine. Moreover, rapid “slumping” detracts the lungs and your internal organs, also hampering your breathing, blood circulation and digestion.
Bad Sleeping Position
An unusual sleeping position can leave you with a neck injury. If you have been doing it for a long time, you may even face difficulty turning your neck sideways. Bad sleeping positions like sleeping on your stomach or having too many pillows are also common causes of neck pain. It’s important to pay attention to the under-head pillow and the surface of the mattress you choose to lie down on because if your head and neck are not aligned with the rest of your body, you’ll end up regretting it later on.
Muscle Strain
You may start to observe that your neck is hurting after staring at your phone, computer, or any other device for long hours. Another source of neck pain can be driving for extended hours. In other words, any posture that requires you to keep your head in a certain position for a long time will lead to muscle stiffness on your traps. In the long run, your muscles will start to weaken, causing neck stiffness. A stiff neck shrinks nerves around the area, which can be really painful during movements.
Stress or Anxiety
Stress or anxiety are key players for muscle tightening around your neck and shoulders. It’s become a common complaint in today’s world.
Office Shoulders
This is a very common problem for office goers. We tend to spend long hours in front of the computer with rounded shoulders. As a result, our shoulders become stiff and tight causing us pain.
Past Injury
Injuries from accidents or sports can often cause severe pain in your upper body—also known as a brachial plexus injury. It can damage the brachial plexus, which are the nerves that connect your neck, shoulder, arms, and spine.
Whiplash
Any traumatic incident can cause neck strain or sprain. Another word for it is whiplash. This happens when your neck muscles or ligaments are injured from an incident. This kind of impact can occur from car accidents, falling, or slipping while trying to lift something. There have been cases reported when riding a roller coaster or confronting a powerful force during a sports activity. One of the common postural issues is forward head posture, which is a misalignment between the head and the shoulder girdle. This means that the head extends in front of the shoulders and upper back. This can lead to severe pain and discomfort around your neck, upper back, shoulder and chest.
Genetic Conditions
There are many genetic conditions related to vertebrae, joints, muscles, and some other parts of the neck that can cause neck pain. These particular conditions take place due to aging or other health issues. Here are some of the examples that can cause neck and shoulder pain due to genetic conditions.
- Arthritis
- Inflamed nerves or joints
- Pinched nerves
- Degeneration of the cervical disc
- Cervical fractures
10 Poses for Relief
We have prepared a list of 10 poses that are effective for shoulder and neck pain, regardless of the cause. Trust us, if these restorative yoga poses are done properly, maintaining correct posture, it can work like a magical pain-reliever.
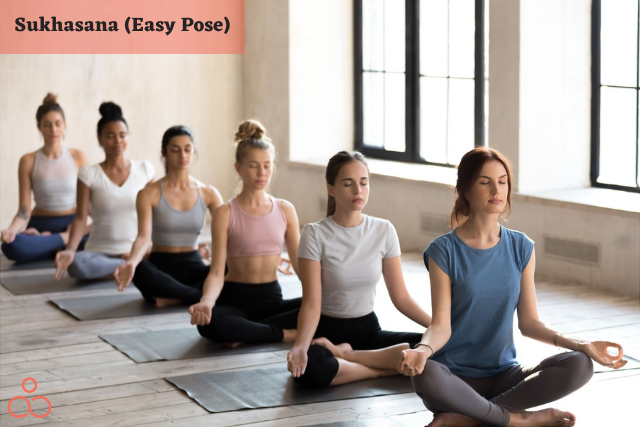
Easy Pose (Sukhasana)
You have to sit comfortably with your back straight and your spine extended. Gradually work on deepening your breathing techniques by inhaling and lengthening your exhale. When inhaling, feel the movement in your chest while it expands. Try to observe how your navel draws in toward your spine. Take 12 deep breaths in an easy pose for optimum results.
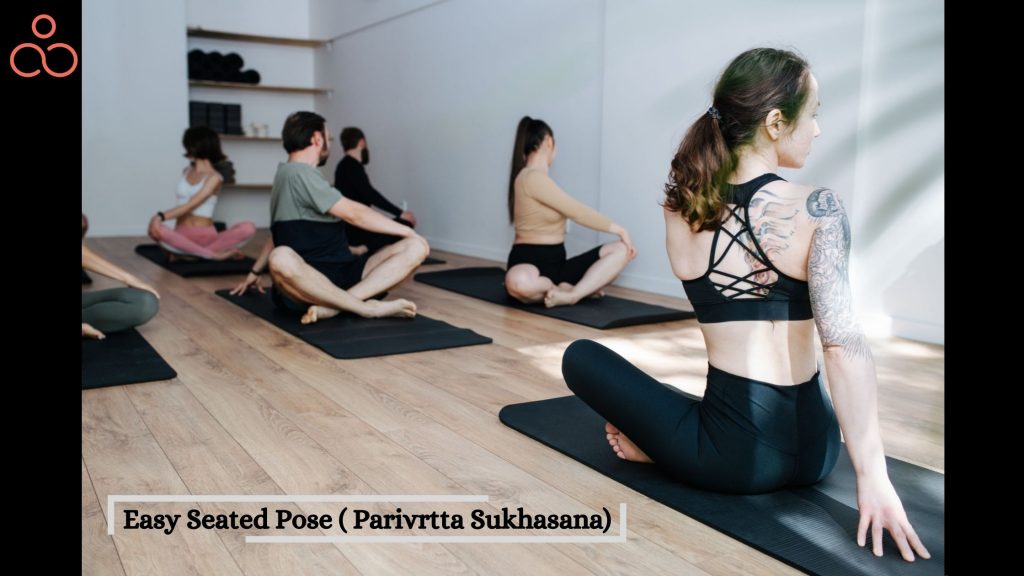
Easy Seated Pose (Sukhasana Parivrtti)
This position requires you to sit with your legs crossed and spine out. Carefully, bring your left hand toward your right knee, and put the right hand on the floor behind you. Your right arm will have to be rotated externally with fingers pointing out and away from your sacrum. While you breathe out, gently twist your body to the right while turning your head in the same direction.
Stop here to inhale. During your next exhale, gradually turn your shoulders right while turning your head in the opposite direction. Again, stop and inhale. With each breath, carefully lean your head toward your left shoulder for a further stretch of your right neck. Take 12 breaths in this pose for each side.
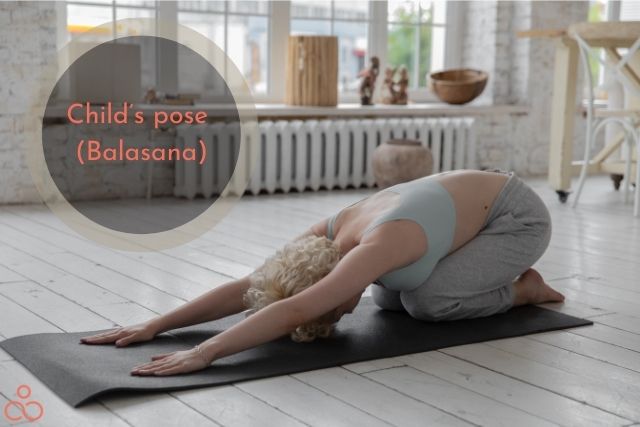
Child’s pose (Balasana)
Another super effective yoga pose for neck pain is the child’s pose. It aids in relaxing your neck, upper back and spine. If you’re suffering from stress or anxiety, a child’s pose should be your go-to healing pose. It reduces any form of mental tension. You have to come to your hands and knees on the mat for this pose. Your knees should be spread wide, keeping the top of your feet on the mat and the big toes on each foot touching each other.
Bring your belly down between your thighs and place your forehead on the floor, stretching your spine as much as possible. Find a comfortable position to relax your eyes, jaws, and shoulders. It’s important to sync your breathing with your body to ensure that the energy being released supports a “rest and digest” response. You can enjoy this position for 30 seconds to several minutes, depending on comfort.
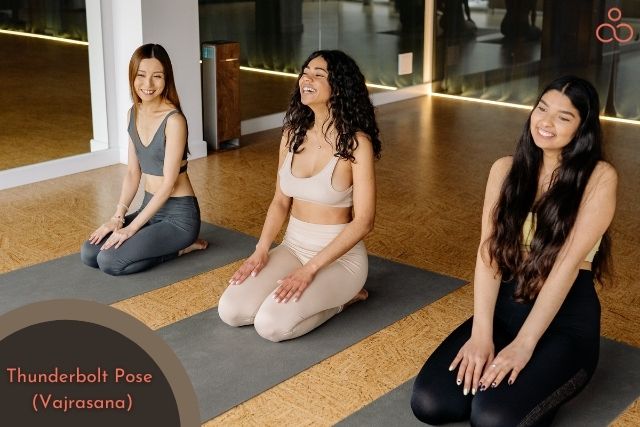
Thunderbolt Pose (Vajrasana)
You have to stand on your knees for this pose. Gently take your left arm over your head and put the back of your right hand on your sacrum. When you exhale, bend over and forward, taking your left arm behind your back and carefully turning your head to the right. Rest the left side of your head on your mat. Your buttocks are supposed to be higher than your hips for the correct alignment.
All of your body weight will be carried by your legs in this position. When you are inhaling, take your right arm wide and gently bring your head back to the center while you come back to standing on your knees. Now, repeat the same steps for the other side. You can do up to four rounds in total for each side.
Cobra Pose (Bhujangasana)
Lie on your belly and gently turn your head to the left. Bring your hands to your sacrum and keep them crossed, palms facing up. While breathing in, use your upper back muscles to gradually lift your chest. You have to sweep your left wide at the same time by bending your elbow slightly. Place the edge of your left hand against your forehead while your head is straight and facing center. While breathing out, lower your chest and widen your left arm, returning your hand to your sacrum and turning your head to the right. You can do four rounds, but be sure to alternate sides every time.

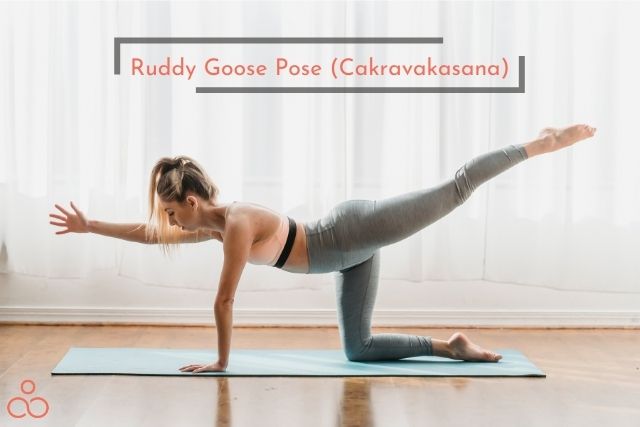
Ruddy Goose Pose (Cakravakasana)
The starting point for this pose requires you to begin on your hands and knees with your shoulders over your wrists and your hips above your knees. While breathing in, lift your chest from your belly, keeping your back flat and straight. Now bring the shoulder blades toward each other. While breathing out, carefully contract your belly and take your lower back without your chest falling over your belly. Bring your hips toward your heels while you bend your elbows. Gradually lower your chest toward your thighs and place your forehead on the mat. You can repeat this pose 6-8 times.
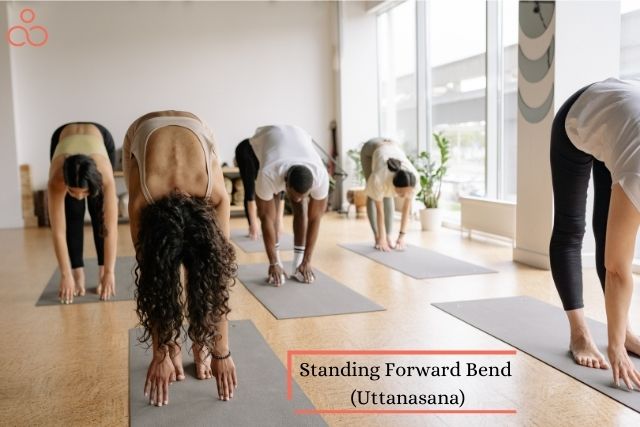
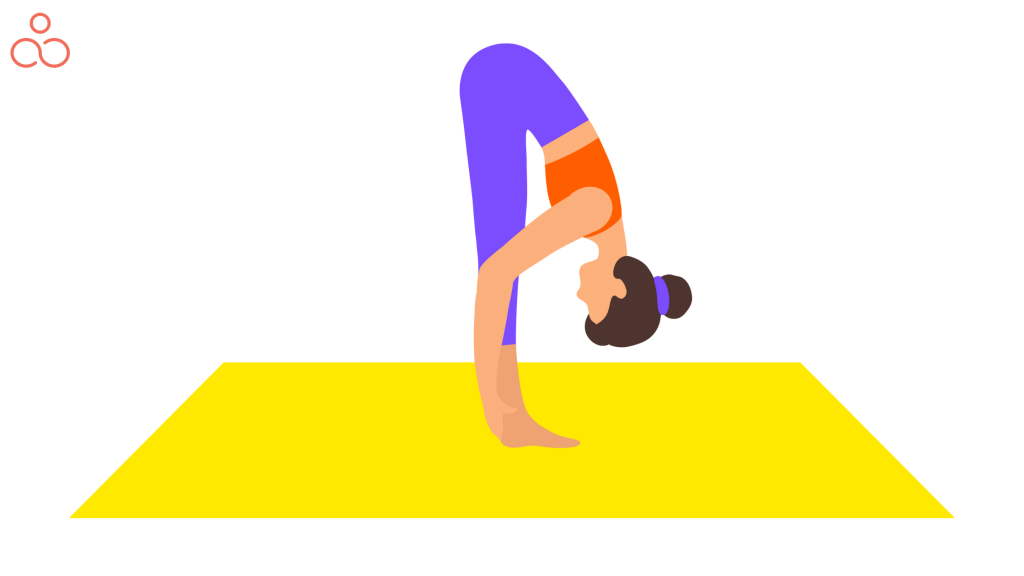
Standing Forward Bend (Uttanasana)
You have to stand for this pose. Stand with your feet apart and your hands on your buttocks. While breathing out, slightly bend forward, sweeping your hands down the back of your legs. Bring your chest toward your thighs. Keep your chin tucked in.
While you breathe in, let your chest take the lead as you lift it away from your belly by lifting your chin too. Bring your torso halfway up, keeping your hands alongside your knees.
Squeeze your shoulder blades together. While breathing out, bend over, stretching your back and sliding your hands gradually back toward your heels. Keep your shoulder blades relaxed and your chin tucked in. When you return to your standing position, remember to focus on your deepened inhale. You can repeat this four times.
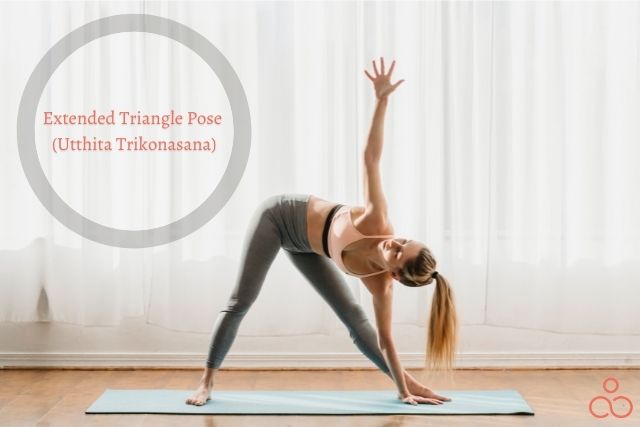
Extended Triangle Pose (Utthita Trikonasana)
Stand with your feet spread wider than your shoulders. Place your left foot outward at a 90-degree angle. While breathing in, stretch and extend your arms so that they are parallel with the floor. Breathe out and bend toward the left side, keeping your shoulders steady and in a straight line with your hips. Place your left hand below your left knee while turning your head toward your left foot.
Keep your right arm pointed toward the sky. While breathing in, take your right arm over and toward your right ear, slightly turning your head toward your palm. While exhaling, bring your right arm back to the previous position while moving your head in the direction of your left foot. You can repeat this four times.
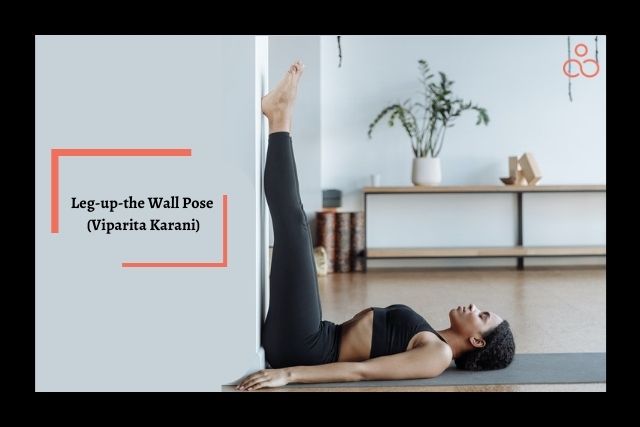
Leg-up-the Wall Pose (Viparita Karani)
This is a very calming and relaxing pose that you can do on the floor facing a wall. Place your upper body flat on the floor against a wall. Lie down on your side, then slowly roll onto your back and stretch your legs up the wall. Your feet should be wider apart than your hips, but this totally depends on your personal comfort. You can take a moment to adjust your position by scooting your tailbone toward the wall. It doesn’t have to touch.
Place your arms by your side, palms facing up, shoulders and arms relaxed. Lengthen your spine and settle into a pose before you start breathing. Once you have found a comfortable position, breathe in and out for at least 10 minutes.
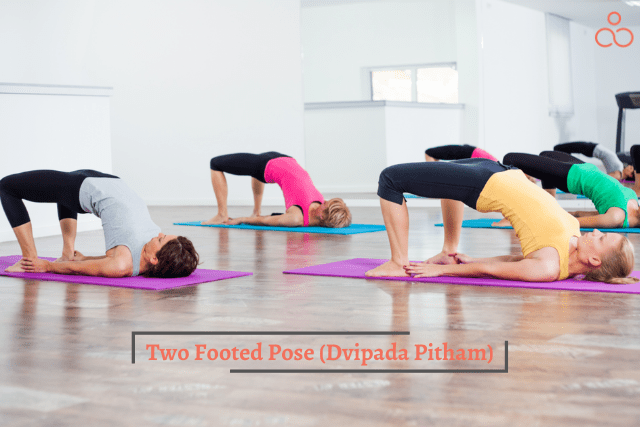
Two-Footed Pose (Dvipada Pitham)
For this pose, lie on your back with your arms extended along the floor by your sides, palms down. Gently bend your knees, keeping your feet flat on the floor (hip-width apart). While you breathe in, apply force to press down through your feet; chin tucked in, elevate your pelvis until you can feel that your neck is lying flat. Exhale, relaxing your spine vertebrae by vertebrae and carefully lowering your pelvis to return to the previous position. You can repeat this six times.
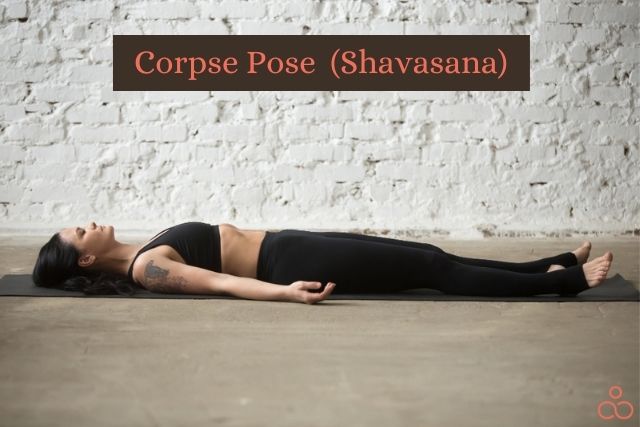
Corpse Pose (Savasana)
Lie down on your back with your arms by your sides, palms facing up. Your legs will be slightly apart from each other. Close your eyes and focus on the existence of your body. Just take full breaths for up to five minutes to relax. This is perhaps the most gentle yoga for neck and shoulder pain.
However, all the poses mentioned above have a treatment purpose, it’s important for you to follow a few tips:
- Pay attention to your body and make changes to your routine accordingly, as you body changes from day to day.
- Focus on your breathing to support your body movement.
- Don’t rush into a pose because you want to, take it easy and slow.
- For beginners, it is highly advised that you join a class for guidance – online or offline, whatever suits your needs.
- In order to reduce neck pack, we suggest you to consider hatha, restorative or Yin Yoga.
- Don’t be hard on yourself to achieve certain poses – be gentle and enjoy the process and your journey.
- You can start to practice 10 to 20 minutes everyday with basic relaxing poses.
Consult with Chiropractor
If your neck pain has persisted for weeks or months, you should consider getting it checked out by a doctor. In addition, if you have sustained any injury, don’t wait it out; reach out to a doctor immediately for treatment. Your doctor will conduct a physical exam and run a health history. They may also suggest a few tests to identify the diagnosis. Treatments for neck pain usually include the following:
- Strong pain medications for instant relief
- Injectable medications like a corticosteroid applied directly to the area of the pain
- Muscle relaxants
- Physical therapy
- Surgery
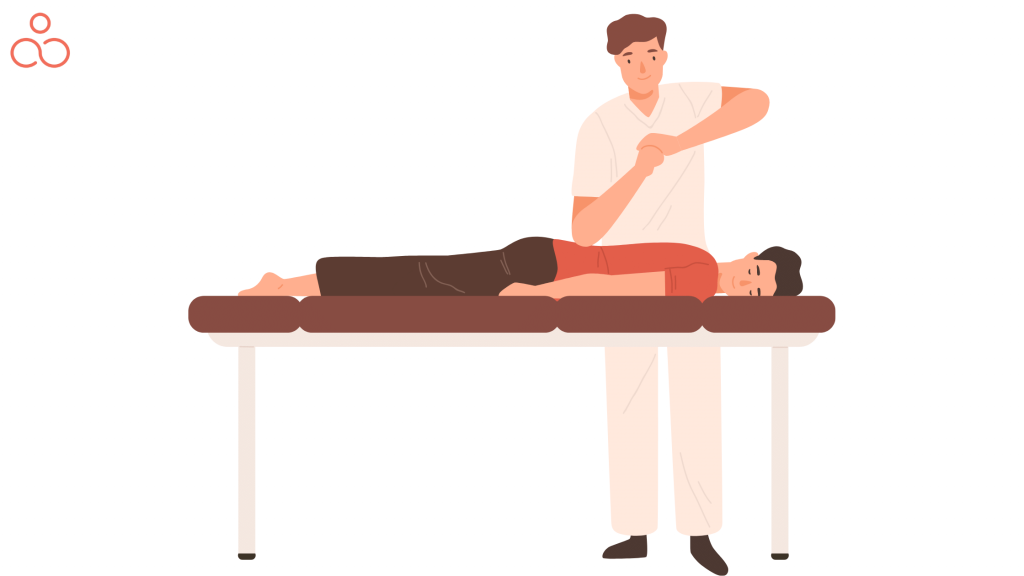
Physiotherapy
This is one of the most successful and effective ways to treat chronic neck and shoulder pain. It addresses the cause of the pain and helps you manage the symptoms more effectively. Regular physical therapy enhances muscle flexibility, loosens tight muscles, and activates regular blood circulation. A chiropractor or physiotherapist can help with muscle strain recovery by simple physiotherapy exercises.
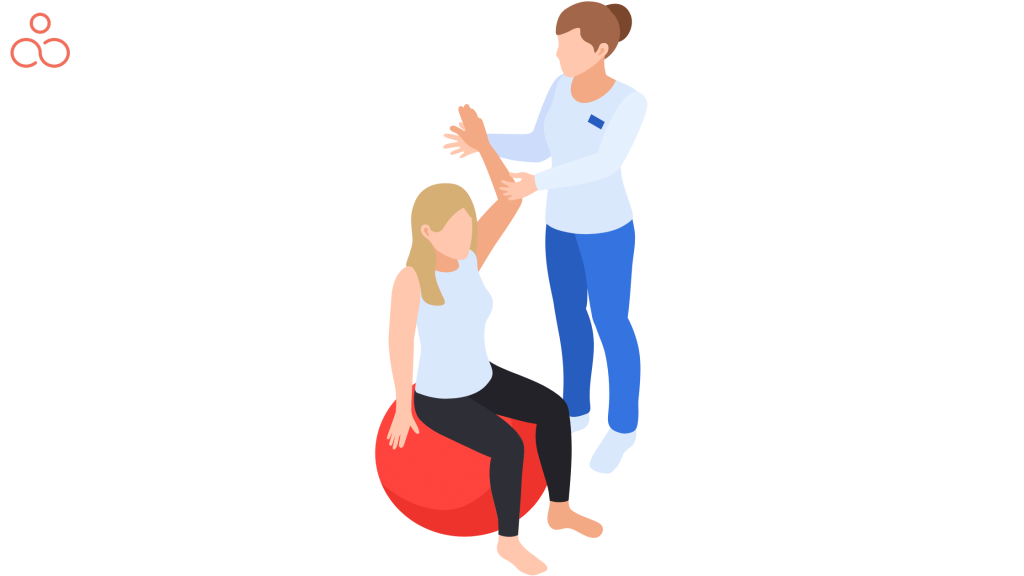
Yoga Props for Better Results
Yoga in itself is a fantastic way to enhance your muscle flexibility. You can take it up a notch by using props that help you with deeper back, neck, and shoulder stretches. For example, for upper body injuries and discomfort, props like yoga belts, yoga wheels, or chirp wheels are often recommended by doctors to speed up the recovery process. The yoga wheel in particular has gained popularity among physiotherapists as they use it on their patients for back, neck, and shoulder pain relief.
Bottom Line
The best way to prevent any muscle strain, other than sudden accidents, is to maintain proper body posture. Practicing yoga and stretching your stiff areas is another way to stay away from any long-term pain. Having said that, if your pain continues to stay for more than a few weeks, you must consult with a doctor. Even before turning to restorative yoga for shoulders or any home remedies for pain relief, you should get your doctor’s approval just to be safe.
