A Psychologists Take On Corpse Pose – Let Go and Relax
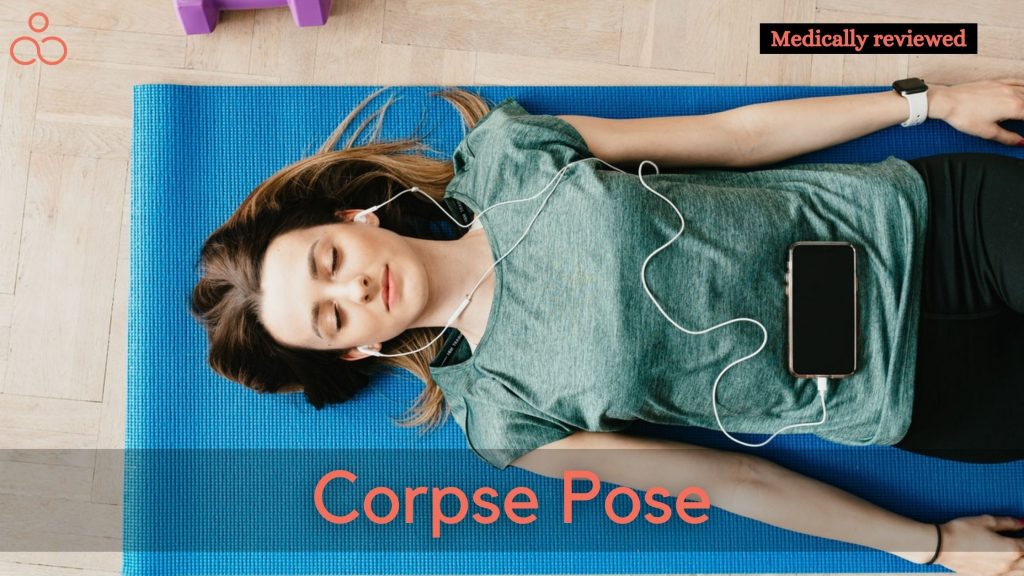
Medical parts were written by Dr. Rai “Don’t stress too much, stay calm!” – Haven’t you heard this phrase? I got tired of listening to this from various sources be it a doctor or a well-wisher or sometimes even a friend. I could never decode how not to be stressed when something goes wrong or […]
What does feeling energy in hands during meditation mean?
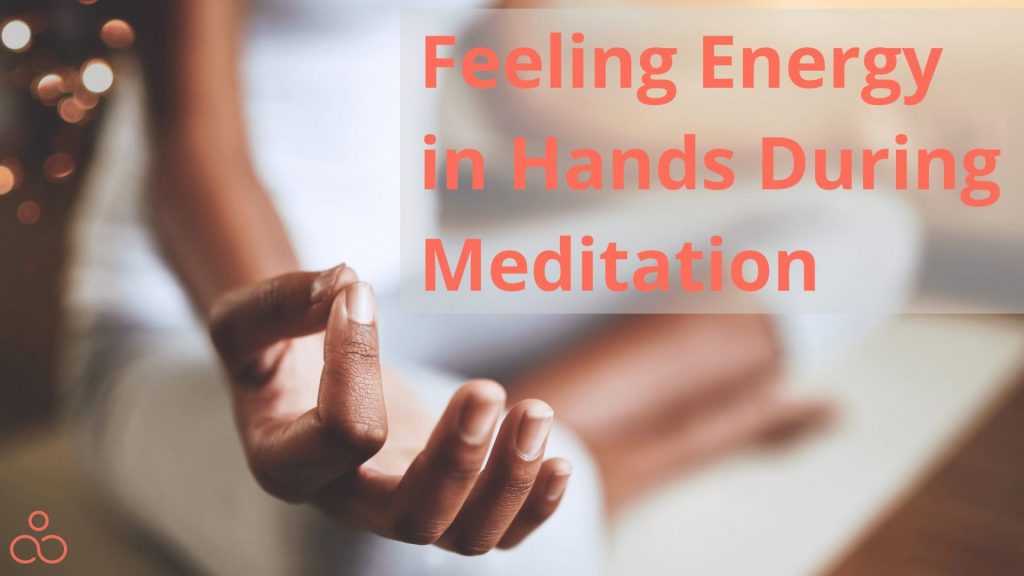
When you are practicing meditation, your body may occasionally send you signals. As your hands are one of the most sensitive parts of your body, it might receive signals earlier than any other body parts. This can be one of the reasons why people are feeling energy in their hands during meditation. Meditation alters the […]
7 Hand Meditation Positions you want to know about!
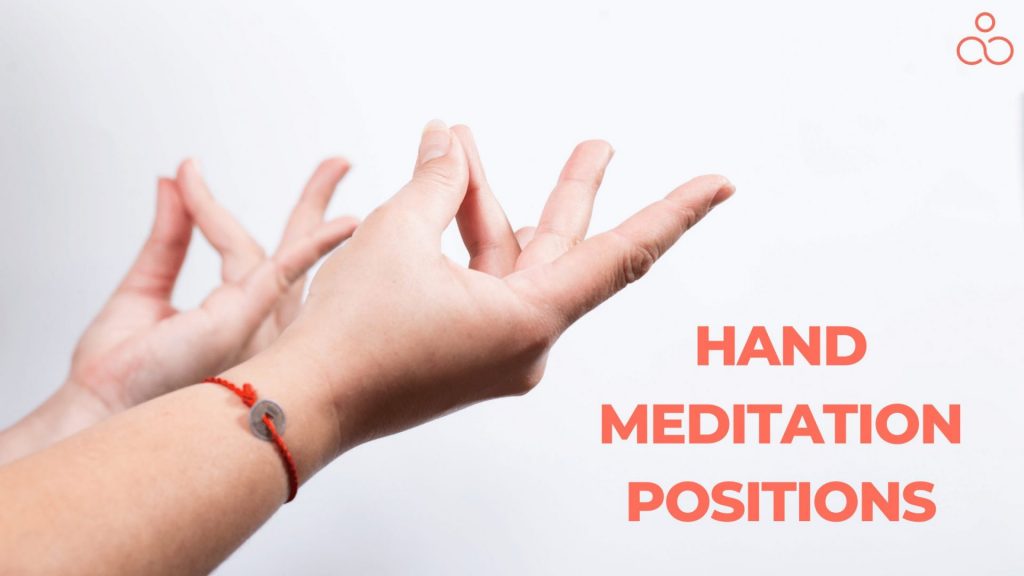
Unlock the power of stillness and delve into the serene world of hand meditation positions. From ancient traditions to modern practices, the way we position our hands during meditation holds a profound significance. These simple yet profound gestures, known as mudras, have the ability to enhance focus, balance energy, cultivate gratitude, and connect with our […]
Feeling vibrations during meditation? Here’s what you should know!
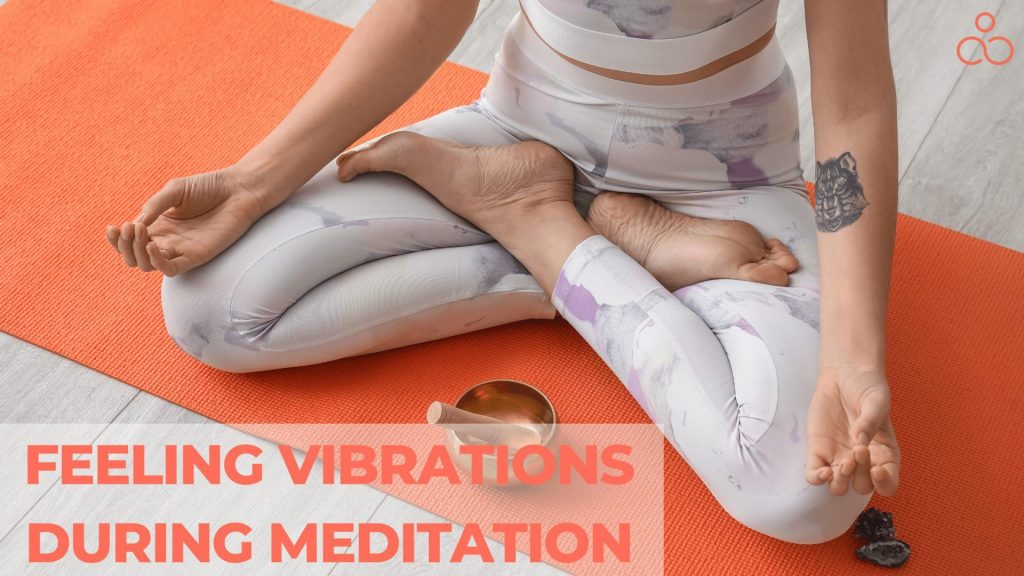
Discover a whole new level of tranquillity in your meditation practice as you delve into the ethereal realm of feeling vibrations. Imagine sitting in serene stillness, only to be enveloped by subtle, pulsating waves of energy that permeate your being. These mystical vibrations, experienced by many during meditation, offer a gateway to heightened awareness and […]
How long are yoga classes? how to choose a proper schedule?
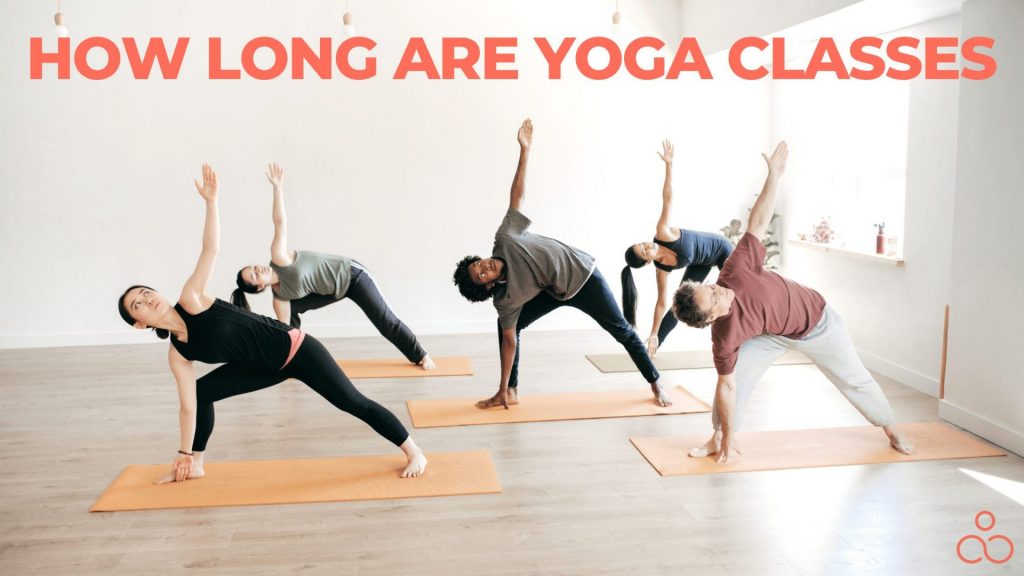
Yoga is comparable to most types of exercise since it can benefit from both short and long sessions and it is advised to perform yoga at least three times a week. But yoga is typically thought of as an hour-long workout. However, yoga classes can really last for anywhere between five and 90 minutes, sometimes even […]
How long are yoga mats? What is the best length?
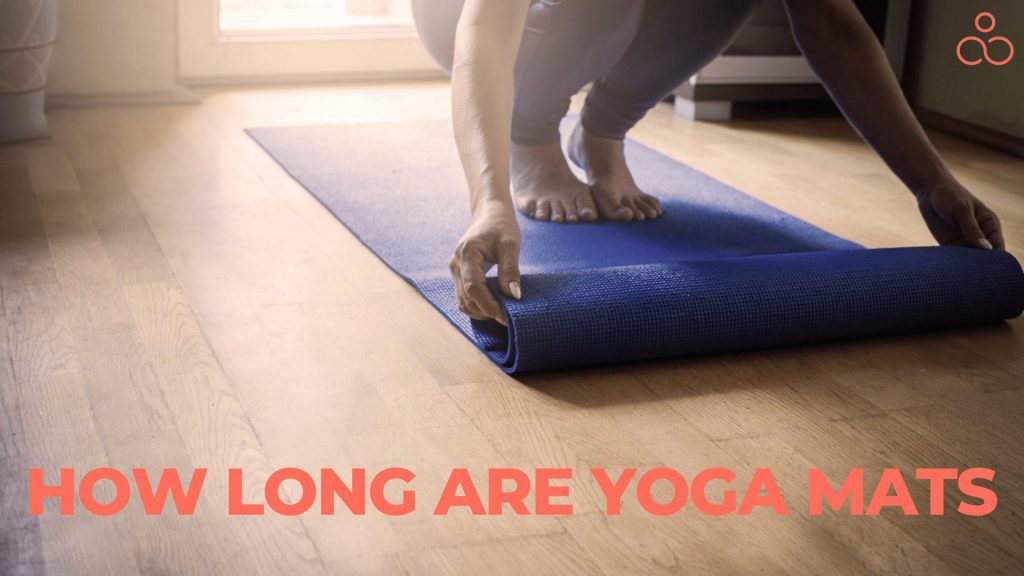
Are you just beginning your rigorous yoga practice? A yoga mat is among the necessities that you should get. Now, when selecting a yoga mat for yourself, the very first question that will pop up is, how long are yoga mats? There is a norm for size, but what if you are a person who […]
How to clean a Cork yoga? Quick tips on personal hygiene
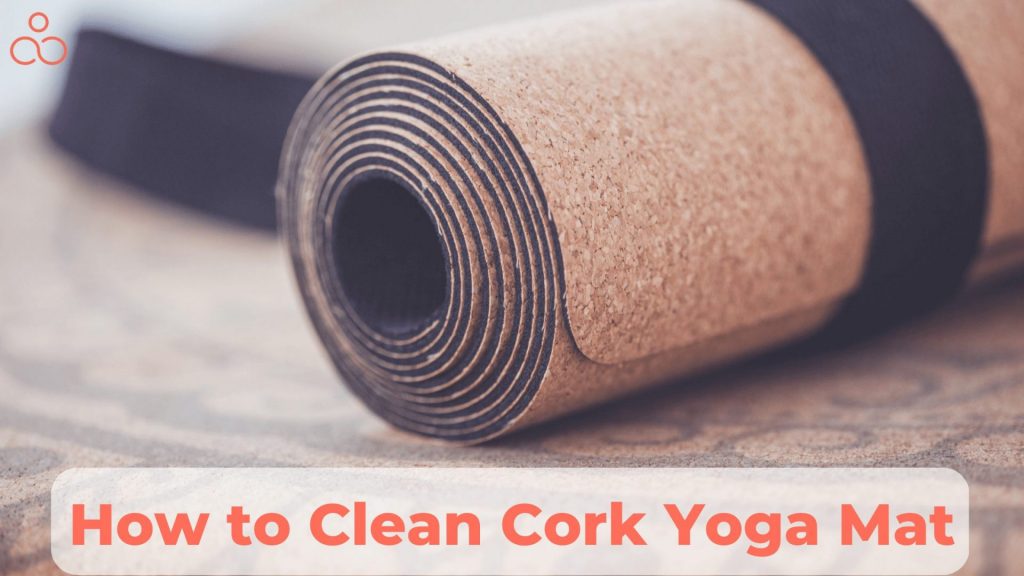
Are you tired of struggling to keep your cork yoga mat clean and fresh? Well, fret no more! In this guide, we will unravel the secrets to maintaining a spotless and hygienic cork yoga mat. Whether you’re a dedicated yogi or a newbie seeking the perfect practice surface, learning how to clean your cork yoga […]
How to go deeper into meditation? Tips you must want!
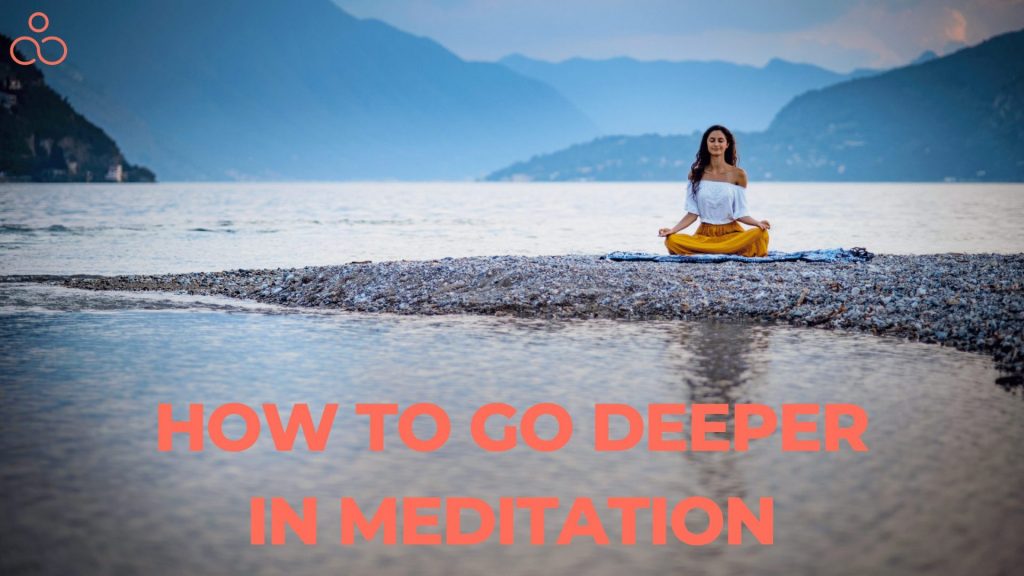
Ready to unlock the hidden depths of your mind? Discover the transformative power of meditation as we dive into the question: How to go deeper in meditation? Explore ancient techniques, tap into mindfulness, harness the breath, and cultivate unwavering focus. Overcome challenges, integrate meditation into your daily life, and embark on a profound journey of […]
How to make yogi tea? The simplest recipe!
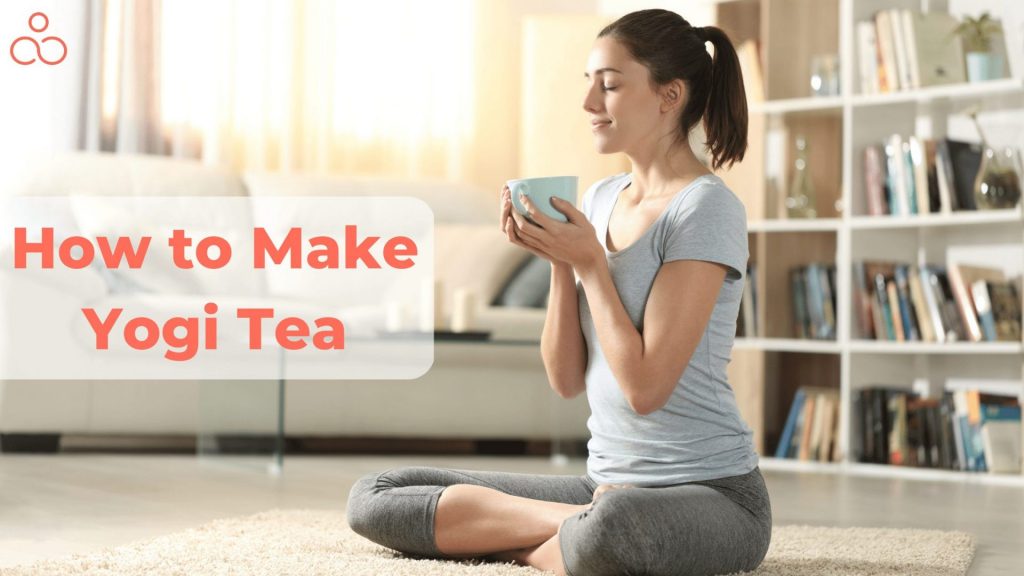
Craving a sip of warm serenity and tantalizing flavours? Wondering how to make Yogi tea, the elixir that has mesmerized taste buds for centuries? Brace yourself for a journey into the world of aromatic spices and ancient wisdom. In just a few simple steps, we’ll unlock the secrets of brewing this enchanting potion. Get ready […]
A beginner’s guide on how to prepare for hot yoga class?
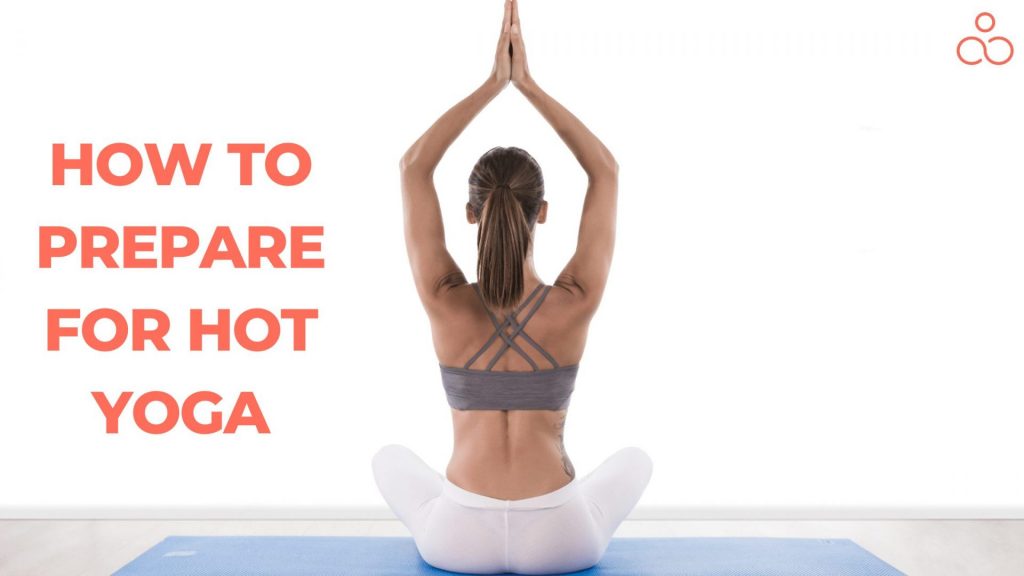
How to prepare for your first hot yoga class like a pro? It’s important to be prepared both mentally and physically to withstand the demanding nature of the class. In order to have the greatest experience possible and provide answers to the question as in how to prepare for hot yoga class, there are a […]
How wide is a yoga mat? A simple guide to choose the best one!
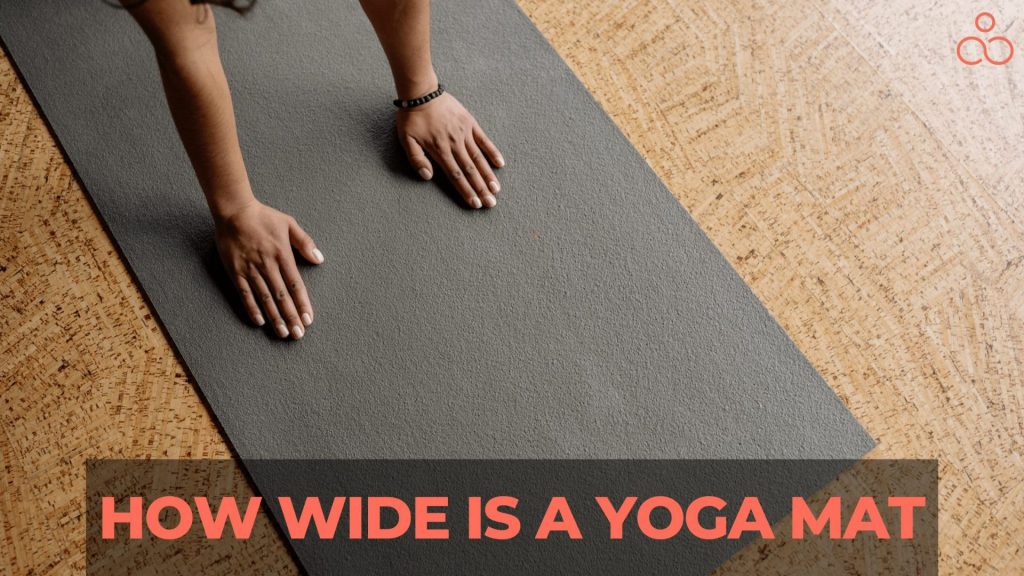
Build your yoga practice on a strong basis, as they say to do with your life. You won’t be able to completely benefit from your daily yoga routines and asanas if you don’t have a warm, appropriately sized yoga mat, so while buying one, a question always arises: how long is a yoga mat or […]