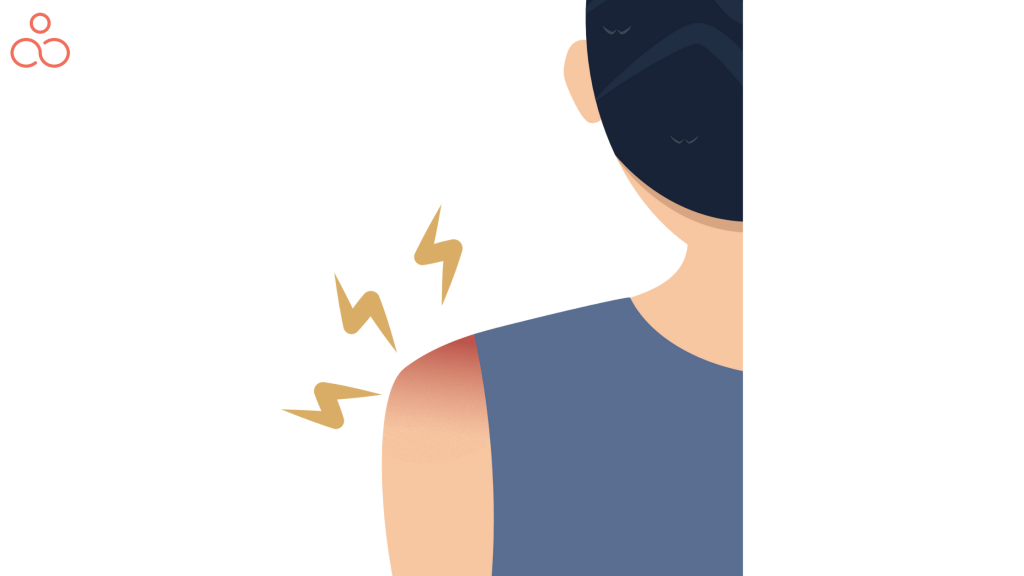
When you lift your arm above and your shoulder blades scrape against the rotator cuff muscles, it ends up in shoulder impingement. The supraspinatus, infraspinatus, teres minor, and subscapularis are the four muscles that regulate your capacity to rotate and lift your arms overhead. In actuality, repetitive overhead arm motions during sports like swimming, tennis, pitching, painting, woodworking, and even yoga can lead to shoulder impingement. So, let’s understand how yoga for shoulder impingement is your best friend!
What is shoulder impingement?
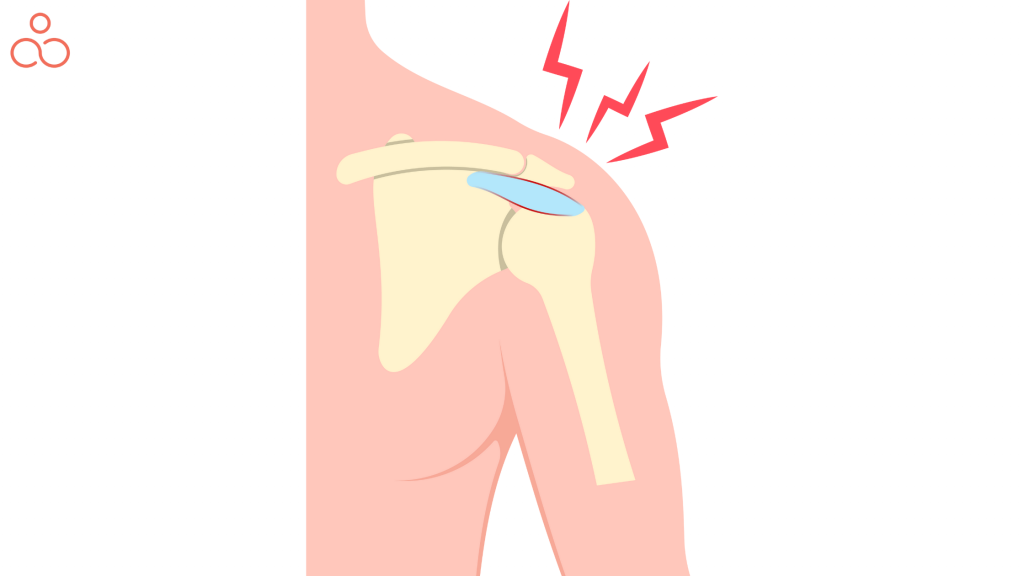
Usually, shoulder impingement occurs when the elbows are raised above shoulder height. While it’s simple to picture the protrusion of the upper arm rubbing against the protrusion that covers the shoulder, the pain is caused when soft tissue, such as the bursa or the rotator cuff tendons, becomes trapped or inflamed by bony contact.
Where can shoulder impingement occur in yoga practice?
Numerous yoga poses and sequences can cause shoulder impingement. Here is a list of typical yoga positions that elevate the arm bone over the line of the shoulder and, if practiced carelessly, can cause harmful frictional pressures in the shoulder joint:
- In Sun Salutations, before folding into Uttanasana, the arms are raised outward in Mountain Pose with a wide sweeping action that pulls the humerus into the acromion.
- Pose with Extended Side Angle (Parsvottanasana)
- Child’s Pose with extended arms (Balasana)
- Gate Pose and Half Moon Side Stretch Pose (Parighasana)
How do we reduce the incidence of shoulder impingement in yoga poses?
Eliminating arm transitions, which move the arm bone in broad sweeping motions, is the first step in easing the strain brought on by shoulder impingement. Instead of raising your arms out to the side, back, up, and then over your head during Sun Salutations, think about maintaining them in the forward plane. Instead of moving the arm bone back and up, raising the arms forward relieves strain on the head of the humerus. In general, take into account the course of movement while putting your arms into important yoga postures or transitions, and stay away from circle motions that bring your arm fully back, about, and then overhead.
The position of the arm high above the shoulder line, with the amputated arm back in line with the neck, and the arm bone turned inwardly (medially) so the palm face forward, tends to provide the most pressure. Take special care of the hand position if the yoga poses call for the arm to be aloft and in alignment with the neck (such as the Extended Side Angle Pose). The hand must be positioned such that it faces the body, externally rotating the arm bone. The humerus head tends to descend from the acromion and scapular structures as a result of this external rotation.
Consult a medical practitioner to get your illness properly examined and treated if you ever have persistent shoulder discomfort. Continue to recognize that yoga positions may help you feel more expansive and alive. You may easily prevent impinging motions by maintaining space and energy flow through the shoulders with conscious alignment and awareness of joint posture.
Stretches for shoulder impingement

It’s crucial to comprehend the anatomy of the shoulder joint before beginning any stretches for shoulder impingement. The acromion, bursa, rotator cuff, tendons, and ligaments are among the several shoulder structures. The shoulder complex narrows when you elevate your arm bone. Movement may be unpleasant if there is swelling in the shoulder joint, and shoulder impingement as well as other disorders including tendinitis and bursitis may occur. The upper back, shoulder, and pec muscles should all be stretched out as part of the stretches you perform for shoulder impingement. This avoids hunched shoulders and bad posture, which can result in impingement. Additionally, stretching will increase your mobility and relieve stress in your rotator cuff muscles.
Benefits of stretching
Stretching provides several health advantages for the entire body, including improved posture, pain reduction, and relaxation. Stretching will help you become more flexible, which will help you avoid injuries and speed up healing.
Best stretches for shoulder impingement
Here, we go through the safest ways to do the top shoulder impingement stretches. After seeing the descriptions, if you still have any worries or inquiries, speak with a physical therapist or your doctor.
Yoga is well known for both its physical and mental health advantages. Yoga helps ease stiff muscles when used to treat shoulder impingement. To heal from your injuries and resume your favorite hobbies, try these yoga positions.
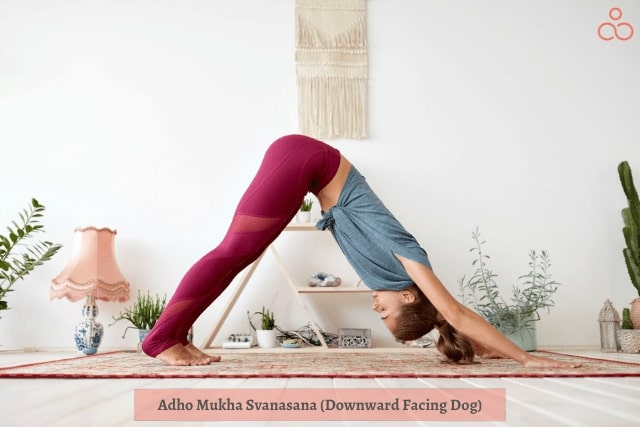
Downward-Facing Dog: Yoga’s downward dog position may expand the chest, stretch the muscles in the upper body, and strengthen the shoulder. On a yoga mat, start by lying face down. Along the center of your chest, position your hands on each side of you. To get on all fours, lift your body. Tuck your toes under and lift your hips to enter the complete posture. Keep your head buried between your arms and your legs straight. Spread your fingers, rotate the inside of your elbows forward, and, if you can, press your heels into the mat. For one minute, try to hold this yoga stance with proper alignment.
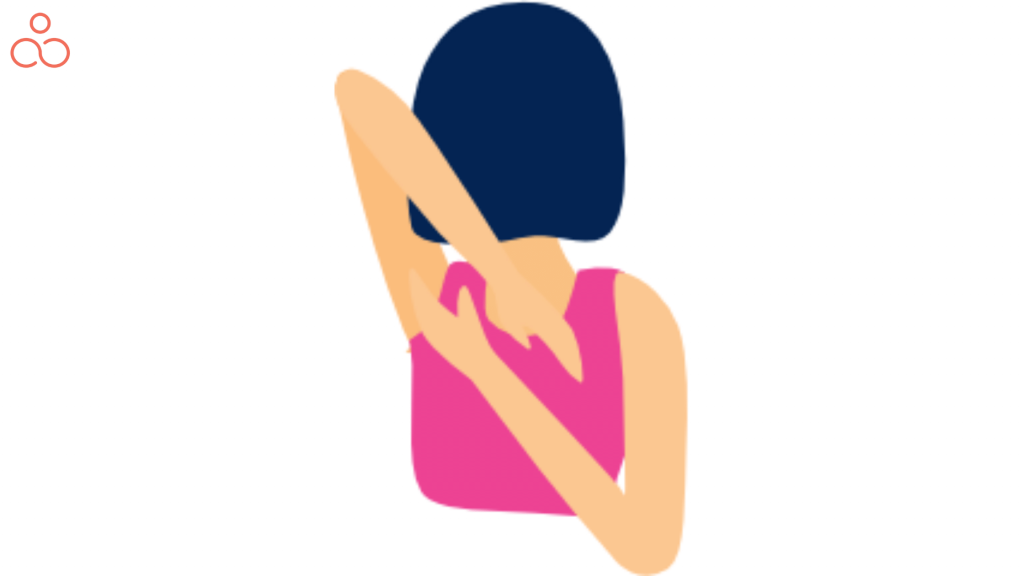
Cow Face Pose: Put your legs out in front of you as you sit down on the ground. By crossing your left leg over such that your left foot is tucked under your right hip, stack your knees. So that the right foot is adjacent to the left hip, raise the right knee and position it on top of the left knee. Your hips will not expand as much as they would if your feet were closer to your torso. Next, extend your arms to about shoulder height at your sides, bringing your left arm down to rest behind your back. The left hand is held in place by the right hand, which ascends behind your shoulders. Use a cloth for extra length if you can’t bring your hands together. Bend forward and bring your chin to your knee for an added stretch. Repetition this posture while alternating your arms and legs. For a few breaths, maintain the cow’s face position.
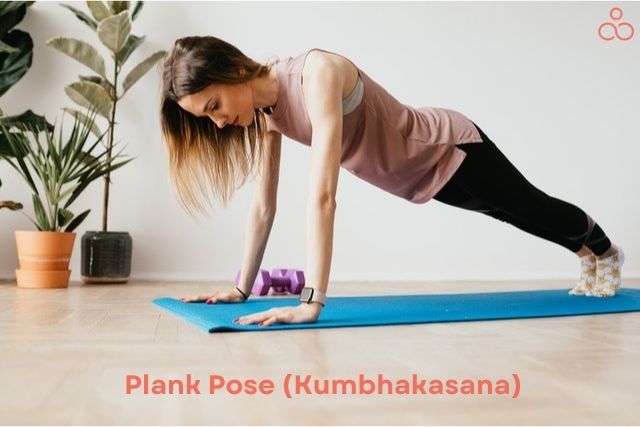
Plank Pose: Get on your hands and knees. Knees should be just beneath your hips and hands beneath your shoulders. Lift your knees a few inches off the floor and press your palms and the tops of your feet firmly into the mat. Keep looking down, straight down When you feel at ease with it, adopt the downward dog position. Rock forward from that position and lift your shoulders above your wrists. Look down while extending your head forward. Ten seconds in this position, then five seconds of rest. For three to six sets, repeat this.
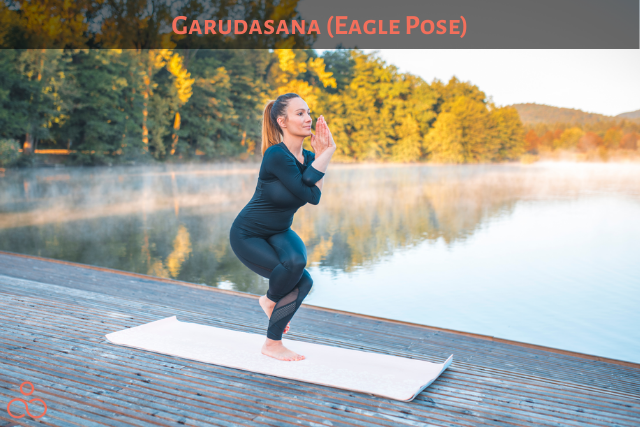
Eagle Pose: Start by assuming the chair posture by extending your arms in front of you, palms facing each other and your elbows and wrists together. Move your forearms away from your face and lower your elbows. Shoulders should internally rotate as a result of this. Kneel slowly while keeping your feet and knees close together. As you lift your right knee as high as you can, shift your weight to your left foot. Then, to hook your right foot on the left calf muscle, wrap the right leg over the left leg. Hold this position for up to a minute while taking calm, steady breaths.
How frequently should I warm up?
Every day, you should stretch three to five times. Injury from overuse, such as shoulder impingement, takes time to heal and may improve slowly. Stretching regularly will be essential to your rehabilitation. To help you stay accountable, create a daily schedule for stretching and strengthening activities. To stretch the muscles, they are unable to extend on their own, some patients will require physical therapy. A physical therapist can create a customized stretching regimen for you if you feel uncomfortable creating your own.
Tips for shoulder stretching
It’s crucial to stay away from throwing and sports like tennis that call for your arms to be raised above while you’re healing from impingement symptoms. Only begin your stretching regimen after consulting with a physician or physical therapist to be sure you are not aggravating your problem. If ever stretching results in pain, stop immediately and take a rest.
The rotator cuff and accompanying shoulder muscles are hurt when the shoulder impinges. Exercises and stretches for shoulder impingement are terrific methods to improve the health of your entire body in addition to the health of your shoulder joint. In your circumstances, stretching might not be advisable. Before beginning any stretching for an injury, we always advise speaking with your physician or physical therapist.
Is your shoulder pain from Yoga impingement?
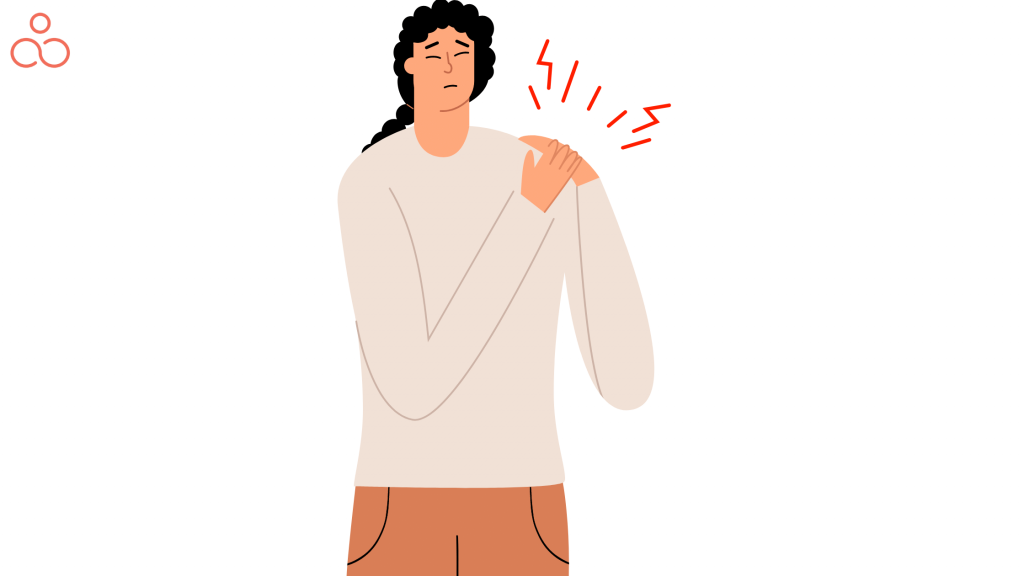
Your pain may be caused by a shoulder impingement, however, that is probably not the case. The shoulder joint is a sensitive, complicated joint with several possible dysfunctional states that may cause pinching discomfort. You do not, however, necessarily have a shoulder impingement as a result. Because the shoulder and the tissues that are connected to it are so complicated, it’s likely that you’ll never be able to determine the precise anatomical source of certain sporadic pinching symptoms.
How to fix shoulder impingement
- Stop all painful activities immediately
- Lower Inflammation
- Reduce Pressure on Painful Structures
- Release Tight Muscles
- Initial Shoulder Impingement Exercises
- Encourage Joint Centration
- Ideal Scapula Position
- Activate Your Serratus Anterior
- Strengthening
- Address Posture
Shoulder extension exercises
You may learn the value of a healthy shoulder extension by swimming a lap, playing a few sets of tennis, or playing 18 holes of golf. In your freestyle stroke, tennis, or golf swing, you must reach your arm behind you. Injuries and performance limitations might result from restricted shoulder mobility. You may stay on the court, the green, or the pool so you don’t miss any of the action by taking some time to stretch and strengthen the muscles that support shoulder flexion.
Rocking Table
With an emphasis on extending the front deltoid muscles on the fronts of the shoulders to promote extension, this modified yoga position increases shoulder strength and mobility. Never push yourself above your discomfort threshold when working into a stretch.
How to execute:
Knees bowed and feet flat on the floor, take a seat. Put your palms slightly wider than your hips and about 12 inches behind you. Start by keeping your fingers extended away from your body. You may intensify the stretch by pointing your fingers behind or even toward you as your shoulders start to open out. Bring your hips up to meet your knees in a straight line. Ensure that your wrists and shoulders are in line. Keep your chest open while tightening your shoulder blades. Stay here for a moment or two. Rock ahead a little bit before stopping and switching to neutral. Then, lower your hips to the ground after numerous repetitions. One or two more repetitions of the workout
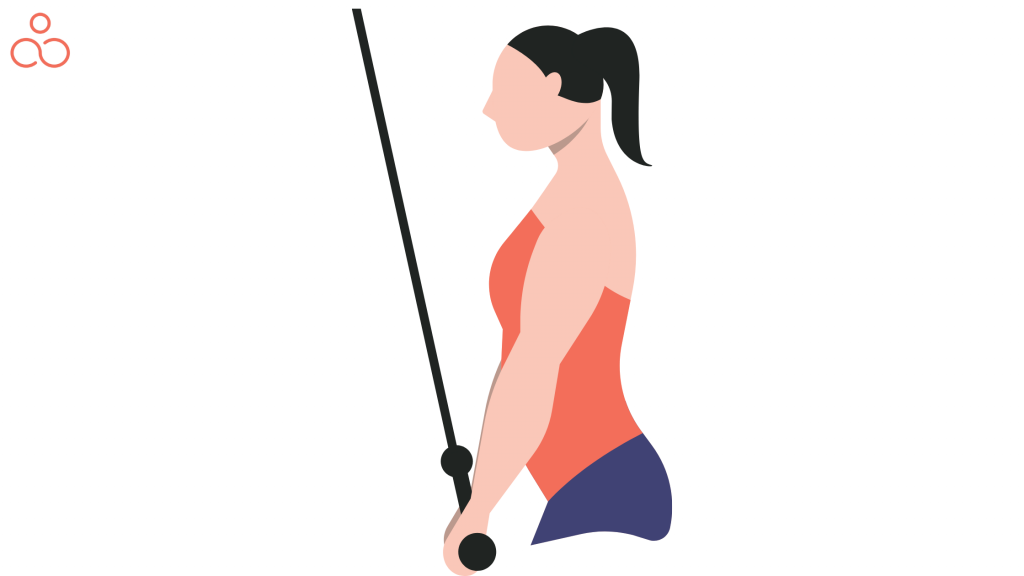
Cross-shoulder Extension
This workout strengthens the upper back and improves shoulder mobility using just a resistance band. Additionally, it lengthens and strengthens the biceps and triceps muscles.
How to execute:
At the hip height, wrap a resistance band around a stout pole or another object. With your hands at your sides and one end of each resistance band in each, stand facing the pole. Place yourself far enough from the anchor point so that the band is taut. As far as you can comfortably go while keeping your arms straight, stretch them back. Put pressure on the shoulder blades. Take a brief pause before controlling your way back to the starting point. Perform a few sets as per your comfort.
And this one
Cow face stretch
Use this exercise to strengthen your upper back and triceps while lengthening your anterior deltoid and chest muscles.
How to execute:
Place your feet hip-width apart as you stand. Put your fingers together and extend your hands behind your hips. Hold on to a towel, yoga strap, or resistance band if you can’t comfortably use your hands. As far as you can, extend your arms such that your hands are raised over your butt. Put pressure on the shoulder blades. Hold for a minute, then let go. Once more, change your grip so your fingers are interlocked in the opposite direction. Simply repeat if using a towel or strap.
FAQs
How often should I perform exercises for shoulder impingement?
- Aim for three times each week.
- Begin with one week.
- Keep an eye on the shoulder’s reaction and evaluate it.
- Adapt the frequency as necessary.
How long does shoulder impingement recovery take?
Really, it depends! The length of time it will take to make a full recovery will depend on a variety of circumstances. Strive to concentrate on continuous advancements.
The cortisone injection—does it help?
Likely, your doctor has already advised getting the cortisone injection if you have already seen him or her. This injection contains both an analgesic and a steroid (cortisone). The purpose of the injection is to:
a) Reduce discomfort
b) Reduce inflammation
c) Open a “window of opportunity” for the workouts to advance.
Do I need Surgery?
My instant response is “No” . I do this because I believe in using conventional methods to repair the body. Please do these exercises before you even think of having shoulder surgery! But it purely depends on how critical the condition is.
Are there any exercises to avoid Shoulder impingement?
The main thing is to be very careful with overhead movements. These might include:
- Shoulder press
- Lat pulldown
- Handstands
- Arm raises above shoulder height
- Downward dog position
- Throwing
- Climbing
Conclusion
Due to the complexity of the shoulder joint, the stress outside of the shoulder itself may cause pain inside. If you experience discomfort throughout your yoga practice, stop what you’re doing. See whether you can perform the posture without experiencing pain by trying a different setup for the pose. Small adjustments to your hand and arm placements in downward dog and wheel are an excellent place to start your investigation. So, check your state now and make yoga your best friend that helps you for a happy pain-free life!
